CHAPTER 3: 5 Common Mistakes to Avoid When Setting Up Your Sewing Room as a Beginner

As a beginner sewist, you are probably want to know the common mistakes to avoid when setting up your sewing room. Here are some common mistake beginners make when setting up their sewing room:
- Overbuying: It’s easy to get excited about sewing and buy too many supplies and tools that you may not end up using. Start with the basics and gradually build up your collection as you gain more experience.
- Poor lighting: Sewing requires good lighting to ensure accurate stitching and to avoid eye strain. Make sure your sewing room is well-lit, either with natural light or with bright artificial lighting.
- Lack of organization: Keeping your sewing supplies and tools organized is key to maintaining a functional and efficient sewing space. Make sure to have storage solutions in place to keep everything in its place.
- Ignoring ergonomics: Sewing can be hard on your body, especially if you’re sitting for long periods of time. Invest in a comfortable chair and make sure your sewing machine is at the right height to avoid strain on your neck and back.
- Not having a plan: Before setting up your sewing room, take some time to think about your sewing goals and what kind of projects you want to work on. This will help you create a space that is tailored to your specific needs and preference
This is my advice on how to avoid mistakes in setting up your sewing room that will cost you money.
Table of Contents
STEP 1: Choose the Best Room
In the average home, you may have the option of choosing between 2-3 rooms to setup your machine.
If you only have one room, then just use that.
Otherwise, you have a decision to make…
And since some rooms are better for sewing than others…
Here’s what you should look for when finding which room is best:
Once you’ve got a basic collection of sewing essentials and a sewing machine…
The next big step is setting up your sewing room.
While most beginners seem to underestimate the importance of this step, the truth is…
A properly setup sewing room can be the difference between smooth sailing and major headaches down the road.
So to spare you the hours of frustration…
In this post, we’ll go through the ENTIRE step-by-step process of setting up your sewing room the RIGHT WAY.
So let’s get started. First up…
The Top 3 Things to Avoid:
When picking your sewing room, it’s less about finding great qualities, and more about AVOIDING the bad ones.
Particularly, avoid these 3 things:
1. Poor Lighting
Sewing is about precision and control.
If you CANNOT see what you are doing, then you CANNOT sew.
Poorly lit rooms are going to be the cause of many headaches.
Avoid them at all costs.
Lots of natural light is not only going to help you see what you’re doing, but it will also help you relax while sewing.
Did you know that being relaxed while sewing has been proven to result in 35% fewer mistakes?
This is why I recommend you find a room with great natural lighting.
If you don’t have one available, then bright room lights will work too.
I do recommend that you put some plants and pictures in there to help you relax.
Next up…
2. Noise
It’s nearly impossible to have great precision and control when you’re constantly being distracted.
Your sewing room needs to be nice and quiet.
All of these things are common sources of noise that can very easily ruin your stitching:
- Cars
- Neighbors
- Crickets
- Rain
- Wind
- Plumbing
- Washers/Dryers
- Kitchens
Spend a bit of time in each room you’re considering. You’ll quickly see which rooms are loud and which is quiet.
Remember – you will be a source of noise for everyone else in your home.
Put some light music on in the room and stand outside of it.
If people can hear you, then you’re going to want to grab some plants and/or wall art to reduce noise from leaking out of the room.
Pick the quietest room for your craft studio.
3. Room Size
Rule of thumb: the bigger the room, the better.
Now, you may be wondering why since some desk space is pretty much all you need, right?
Yes and no.
You can easily get away with a simple desk or tables for your sewing machine and be perfectly fine.
The problem with this is when you become more advanced with your sewing.
You’re going to need space to store all of your sewing essentials.
It’s also much easier to sew when you have plenty of room to lay out your materials and patterns.
This is especially true if you’re going to be sewing larger items such as quilts and blankets.
Pick the biggest room for your sewing studio.
Moving on…
STEP 2: Clear Out Your Area
You’re going to want a nice, clean area when you start setting up your sewing space.
Clutter, disorganization, dust, debris, etc are disastrous for any kind of crafting – but especially sewing.
Take the time to clean out the area where you’re going to sew.
Not only will the reduced clutter make you happy, but you’ll have much fewer mistakes when sewing.
Anything that can be cleaned out, should be cleaned out.
Moving on…
STEP 3: Setup Your Workstation
Now that you have a perfectly clean room and sewing area, it’s time to setup your workstation.
Since the desk/chair are going to be the centerpiece of your sewing studio…
It makes sense to start with those two.
While any desk/chairs you have lying around the house can be used for starters…
Ideally you probably want your workstation to look a little more professional if at all possible.
And so…to find out what I recommend and why, check out the following two articles:
Classic Desk Example:
- South Shore Crea Collection Craft Table: Amazon
Classic Chair Example:
- Serta Back in Motion Health and Wellness Mid-Back Office Chair: Amazon
Up next…
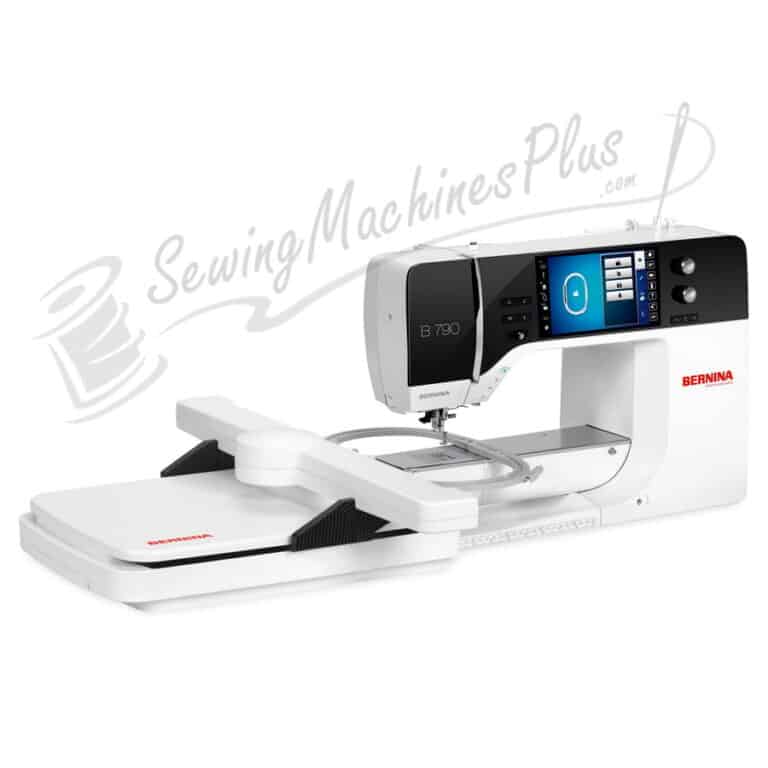
STEP 4: Place your Sewing Machine
Now that you have your sewing workstation setup, it’s time to arrange your sewing space.
Let’s start with the most important, and biggest, piece – the sewing machine.
The placement of your sewing machine is going to depend on a few things:
- If you’re a righty or lefty
- Type of machine
- Size of the machine
Let’s start with the first one…
Right or Lefty:
You want to place your machine so that you can guide the fabric through with your DOMINANT hand.
Remember, sewing is all about precision and control.
Set yourself up for success by placing the machine where your dominant hand can have the biggest impact.
Next up..
Type of Machine:
If you have a machine with a pedal, you’re going to need to pay attention to this. If your sewing machine doesn’t have a pedal, you can move on to the next section…
You want your pedal to be flat on the floor, with a little bit of slack in the cord.
If possible, it’s also best to have the cord go around the back of the workstation and come out under the desk.
In other words, try and avoid having the pedal cord hanging off the front of the desk.
It’s very easy to knock into the cord with your legs or chair. This can cause you to mess up, and potentially damage your sewing machine.
Next up…
Size of the Machine:
The general rule of thumb here is the bigger your sewing machine, the more centered it should be on the desk.
I’ve said it before and I’ll say it again – sewing is all about precision and control.
By centering your larger sewing machine, you’re providing the machine a larger amount of stability.
Smaller machines afford you with more flexibility in the placement of the sewing machine.
Either way, I highly recommend that you center the machine on your desk.
Next up…
STEP 5: Arrange your Workstation
Now that you’ve setup the biggest component of your sewing essentials, you can setup everything else.
Here’s where you should keep each of your essentials:
Sewing Storage
Keep your sewing storage within arms reach.
If you have a standing sewing storage unit, then keep it to the left or right of your sewing desk.
If you have a desk storage unit, then keep it on the OPPOSITE side of your dominant hand.
While you’re going to be going into the sewing storage unit a good amount, it’s not so frequent that it needs to take up the premium working space.
Sewing Patterns
If your sewing desk has drawers (which it definitely will if you bought one of the sewing desks we recommended), then keep your patterns in one of the drawers.
I recommend keeping the patterns in one of the middle to bottom drawers.
You’ll take them out when starting a new project, but that’s about it.
Sewing Thread and Needles
Keep your sewing thread and needles in the sewing storage unit.
These items are so small that they’re very easy to misplace.
If you have an abundance of thread, then you can use one of the drawers in your sewing desk.
But I really recommend that you keep your threads and needles in a dedicated storage unit
Notions and Supplies
Keep your notions and supplies either in the sewing storage unit or in one of the drawers.
It really depends on the size and frequency of use.
Stuff like scissors, sheers, pencils, and erasers should be kept in the storage units. Other things can be kept in the drawers.
You’ll have to use your judgement on this one.
Fabrics
Keep your fabrics stored in the sewing desk drawers.
Make sure that the drawers are clean and that the fabrics are neatly placed when the drawers are closed.
If you’re dealing with fabrics that are sensitive to light, temperature, and/or humidity, then you should consider getting a protective storage unit for your fabrics.
STEP 6: Accessories to Complete your Studio
Your sewing studio is going to become your relaxing, happy place.
The place in your house where you can escape.
Here are some items that I have in my sewing studio that help me relax and work:
- Ultimate Guide to Speakers for Crafting Rooms
- Ultimate Guide to Lighting for Sewing Rooms
- Ultimate Guide to White Noise Machines for Sewing Rooms
- Ultimate Guide to Air Purifiers for Crafting Rooms
Now, you’re ready…
With your sewing studio fully setup, you’re now ready to begin sewing.