How to Easily Sew Pin Tucks

KEY TAKEAWAY
- Pintucks are a versatile decorative element that can be added to various garments.
- Using a sewing machine is recommended for easier application of pintucks.
- Pressing creases and using a guide foot can help increase accuracy when sewing pintucks.
Getting Started
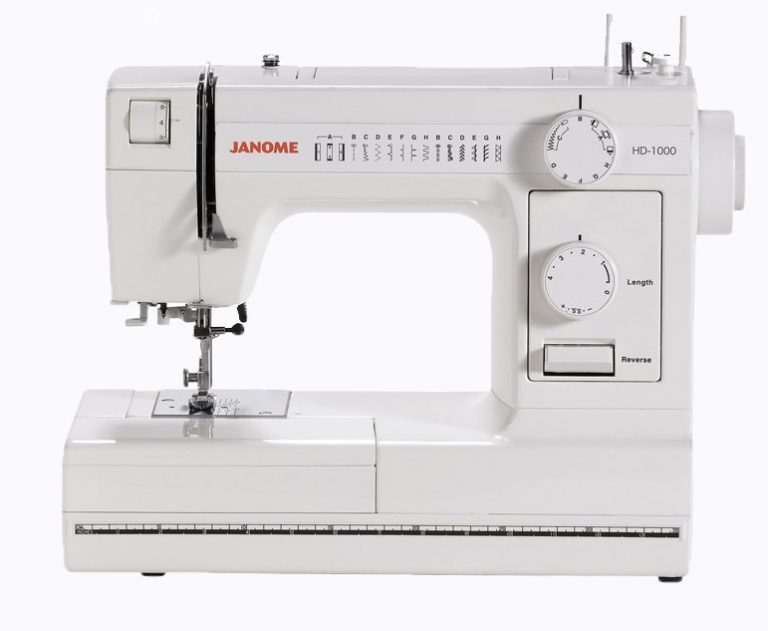
You can create pintucks by hand, with a hand sewing needle, or with your sewing machine; for the easiest application, we recommend using your sewing machine.
- A fine-tip fabric marker or chalk
- A marking tool
- If your sewing machine doesn’t have a seam guide foot, add a ¼ inch presser foot. Either foot will make it easier to sew a straight line for your pintuck, as they feature a guide that runs along the edge of the fabric as you’re sewing.
Step 1
Decide how many pintucks you want to create and where you want them to start.
Step 2
Mark lines for the pintucks in your fabric with the fabric marker or chalk. Make the lines on the correct side of the material. Alternatively, you could make a long basting stitch to mark the pintuck lines, which will be removed when the stitches are completed. We recommend this technique if you are working with a delicate material that you don’t want to mark with chalk or marker.
Step 3 (optional)
To increase accuracy, you can use an iron to press a crease into each of your lines. This is optional and it isn’t usually done; however, it can make things easier, especially if you are new to pintucking.
Step 4
Fold the material along the first pintuck mark so that the wrong sides are together. Place the fold under the presser foot.
Step 5
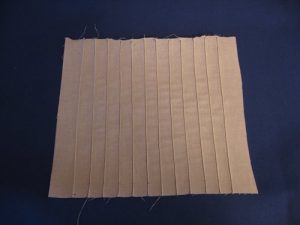
Start stitching. As you are sewing, the bobbin thread will pull the stitched rows together, creating a pintuck in the middle of the groove.
Step 6
Continue stitching the rest of your pintucks. Line each tuck within the groove of the presser foot and sew each additional tuck the same way that you sewed the first one. The foot will use the initial pintuck as a guide, creating parallel tucks in your fabric. Gently pull up the ends of the tucks to raise them prior to pressing them.
Step 7
Once you’ve finished stitching your pintucks, use an iron to press them down to one side.
Wrapping It Up
Pintucks can add a touch of interest to any garment and any material. Using these simple steps, you can take any item you’re sewing to the next level and give it a professional look with pintucks.