How to Topstitch

Supplies Needed
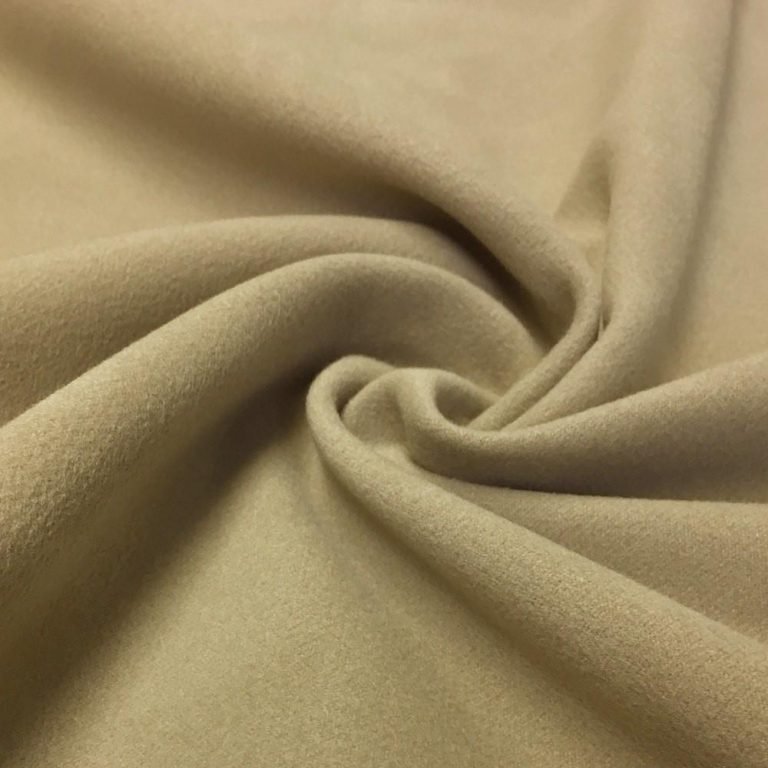
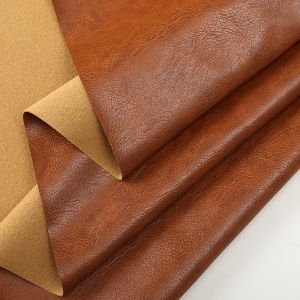
To create a topstitch, you’ll need the right sewing needle and thread. Make sure that the needle that will work with the material you are sewing, otherwise it could damage your fabric. For the easiest option, choose a universal needle. You can choose any color thread; however, we suggest using a color that compliments the fabric, as it will increase the visibility of the stitch. Also, we suggest selecting a heavier thread, which will further improve the visibility and the stability of the stitch.
Step 1
Iron out your fabric before you start stitching. Doing so will ensure that your seams and stitches are as neat as possible.
Step 2
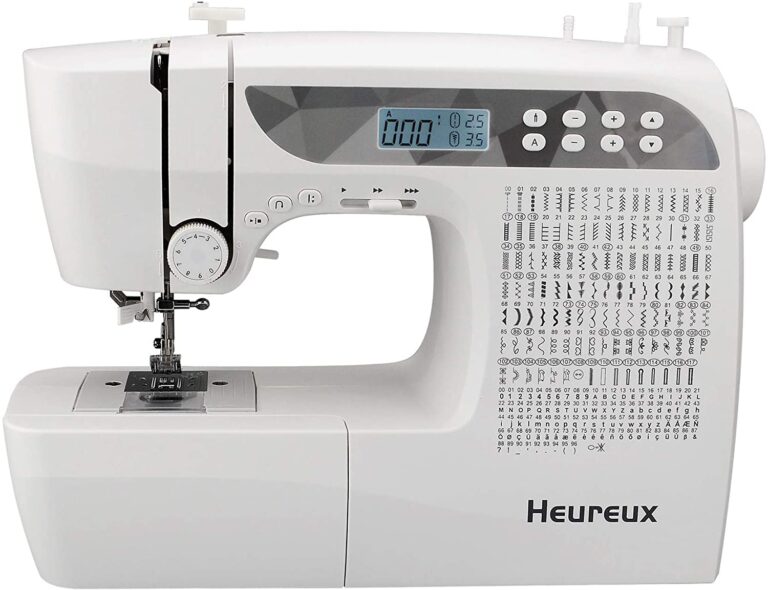
Attach a presser foot to your sewing machine. The presser foot will serve as a guide as you stitch along the edges of the material. If you don’t want to use a presser foot, you could draw a lines in the fabric with chalk or a fabric marker and a ruler; however, a presser foot will certainly make creating your topstitches easier.
Step 3
Decide where you want the topstitch to be placed. Remember that the topstitch is meant to be seen, so you want to choose a spot on the right side of the fabric. Set the sewing machine so that it is on a straight line stitch.
Step 4
Place the material underneath the presser foot; remember that you want the material to be right side up. Begin sewing your topstitch. If the topstitch is going to be along a seam, then ensure that the raw edges along the seam are turned under and concealed before you start sewing.
Step 4
Start sewing. Use even pressure and work slowly so that you can ensure the best results. If you move too quickly – especially if you are just learning – it’s likely that the stitch will look messy, or become knotted or puckered.
Tips
To ensure the best results, avoid backstitching. Using a backstitch in a topstitch will prevent uniform results; the goal of a topstitch is to have a neat, uniform look.
Top stitching is an essential technique in sewing that adds both durability and a professional finish to your projects. Whether you’re a beginner or an experienced sewist, knowing how to top stitch can elevate the overall look of your garment. So, let’s delve into the world of top stitching and explore the ins and outs of this sewing technique.
Firstly, let’s address the question: what is topstitching?
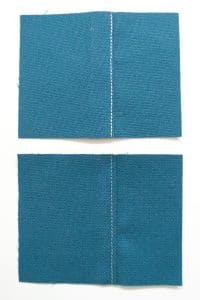
Topstitching refers to the visible stitching on the outside of a garment, usually done parallel to a seam or edge. It is a decorative stitch that not only enhances the design but also reinforces the seam, making it more sturdy and long-lasting.
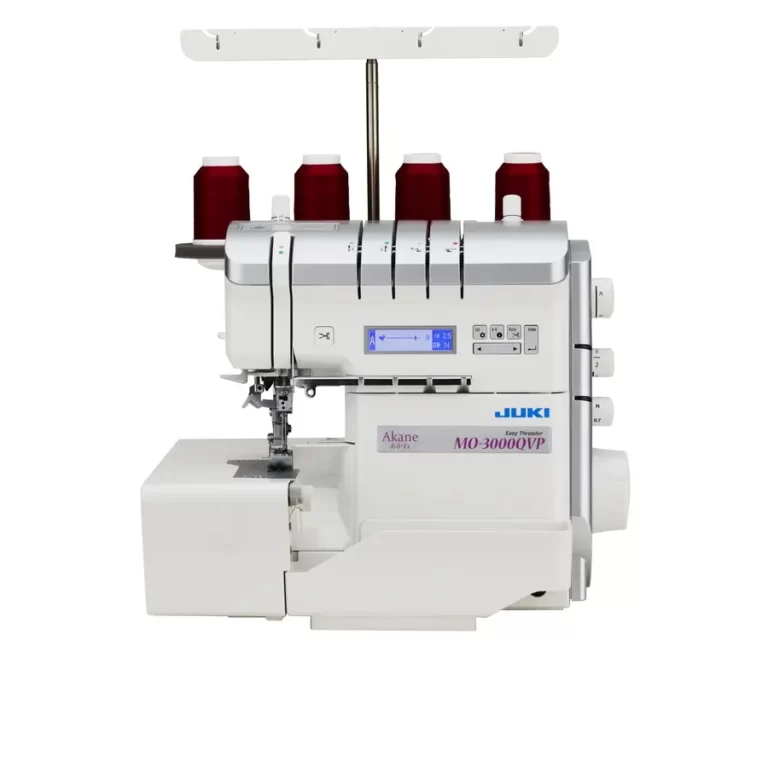
This stitching can be done by hand, but with the help of a top stitch sewing machine, the process becomes more efficient and precise.
If you’re wondering how to do a top stitch, don’t worry, as it is relatively straightforward.
To begin, select a suitable thread color that complements your fabric. It’s important to note that the thread used for top stitching should be slightly thicker than regular thread to ensure it stands out.
Before starting, make sure your sewing machine is equipped with a top stitch foot, which provides better visibility and control while sewing.
To top stitch on a sewing machine, follow these steps.
First, set your machine to a straight stitch and adjust the stitch length to your desired measurement. Next, position your fabric under the presser foot, aligning the edge or seam you wish to top stitch.
Start sewing slowly, guiding the fabric smoothly under the needle. Remember to keep the stitches as straight and even as possible for a polished look.
When it comes to top stitching, precision is key.
For intricate details or curves, you may need to pivot the fabric to maintain accuracy. Additionally, it’s important to backstitch at the beginning and end of your top stitch to secure the threads and prevent unraveling.
To achieve professional-looking results, consider incorporating top stitching in various areas of your sewing projects. From collars and cuffs to hems and pockets, the possibilities are endless.
By mastering the art of top stitching, you can elevate your creations to a whole new level.
Top stitching is a fundamental skill for any sewist. By learning how to top stitch on a sewing machine, you’ll be able to enhance the durability and aesthetic appeal of your garments.
So, visit teachyoutosew.com, a fantastic site that provides comprehensive tutorials on sewing techniques, including step-by-step instructions on how to top stitch. With practice and patience, you’ll soon become a top stitch pro.