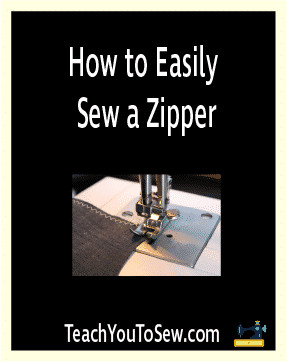
Adding a Zipper the Pro Sewer’s Way!

Choosing the Right Zipper
Adding a Zipper Using the Centered Application
Once you get a zipper, open it up. You will find detailed instructions for inserting a zipper on the inside.
Now, there are two ways to go about adding a zipper: centered application and lapped application. I will be teaching you the former in this post, but if you want to go with the latter, you can always refer to the instructions that came with the zipper to get started.
To get started with the centered application, however, you will first find the zipper foot. You will then remove the pressure foot. You can refer to the sewing machine manual to learn how to do that, but there would likely be a small button or spring on the back that you just need to press to make the pressure foot come off.
Then you need to put the zipper foot there, but it should be kept either to the right or left of the pressure foot, and not directly in the center.
However, the zipper and the zipper foot should be on the same side, so that the needle is able to sew on whichever side you choose. So in other words, if the zipper is placed to the right of the needle, the zipper foot needs to be on the right as well.
Now, when sewing the zipper onto the fabric, you will first baste shut the area where it will be sewed. But only baste shut the area that the zipper will cover; the rest of the seam needs to be attached using a regular stitch.
To be able to do this, you will need to put the zipper where you actually want it to be, and then mark the bottom by putting a pin there.
Then take the zipper off and start with the said sewing process. Something to note here, however, is that if you go for wide seam allowance the job will get significantly easier and smoother. A seam that’s at least an inch in size would be ideal.
Once you’re done with the above step, you can remove the seam that you sewed in place of where the zipper is going to be. Then place the zipper there in a way that it fits perfectly in line with the seam, ready to be attached there. Then pin it in place.
Sew one of the sides of the zipper, and then continue the sewing across the bottom, finally moving to the other side and all the way up to the top of the other side of the zipper. Let the zipper foot be on whatever side you want it to be on to let the needle do its job of sewing the zipper properly.
Once the zipper is sewed in place, you can turn the thing over and use a seam ripper to get rid of the temporary basting. If you have done it right there should be no raw edges when you’re pulling open the zipper.
In some cases, you may want to have a bit of space at the top to allow for a hem, especially if you’re making something like a waist band. It would likely depend on the type of sewing project you’re working on, however.
That’s pretty much it! If you followed everything I’ve mentioned above properly, you should have successfully sewed in a zipper on whatever you were trying to sew it on.
That being said, it’s highly unlikely that you will get everything right in the first attempt. Adding a zipper to something is quite an advanced sewing skill, and it’s certainly much more challenging than anything that I’ve taught you until this point.
So be patient with yourself… You will likely need to remove the zipper you added more than a few times, but once you get it right, it will be totally worth the struggle!
Head back to CHAPTER 4: Sewing 101 for Aspiring Home Sewists!