Machine Embroidery Basics 101 for BEGINNERS

Hey everyone! In this Machine Embroidery beginner basics 101 video tutorial, I’m going to show you how to use machine embroidery. Embroidery tutorials can be tough because every machine is different, but I want to help you get started by showing you some of the basic things that other tutorials might assume you already know.
In the first half of the video, I’ll show you how to get started with hooping and getting your design where you want it, using a piece of scrap fabric. In the second half, I’ll talk more about what kind of machine to get started with and answer some common questions.
Table of Contents
- 1 Getting Started With Machine Embroidery
- 1.1 What kind of machine is best for beginners who want to try machine embroidery?
- 1.2 What are the basic materials and supplies needed for machine embroidery?
- 1.3 How do you transfer a design onto fabric for embroidery?
- 1.4 What are some basic embroidery stitches that beginners should learn?
- 1.5 How do you troubleshoot common issues that may arise during machine embroidery, such as thread tension or bobbin problems?
- 1.6 Materials Needed
- 1.7 Hoop Your Fabric
- 2 Basic Machine Embroidery Techniques
- 3 Projects Using Machine Embroidery
- 4 Advanced Techniques For Machine Embroidery
- 5 Source
Key Takeaways
- Start with tearaway stabilizer, scissors, hoops, and temporary adhesive.
- Practice on scrap fabric before moving on to specialty items.
- Hoop your fabric tightly and use clips to prevent the frame from popping open.
Getting Started With Machine Embroidery
What kind of machine is best for beginners who want to try machine embroidery?
What are the basic materials and supplies needed for machine embroidery?
How do you transfer a design onto fabric for embroidery?
What are some basic embroidery stitches that beginners should learn?
How do you troubleshoot common issues that may arise during machine embroidery, such as thread tension or bobbin problems?
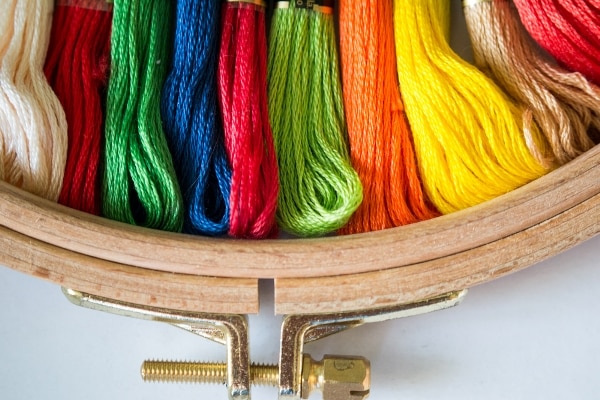
Materials Needed
To get started with embroidery, you only need a few basic materials. These include a tearaway stabilizer, a pair of scissors, your embroidery hoops, and a temporary adhesive, such as 505. It’s also helpful to have a pen or something to mark your fabric with.
Hoop Your Fabric
The first step in embroidery is to hoop your fabric. To do this, you’ll need to cut a piece of stabilizer that is slightly larger than your hoop on all sides.
Then, loosen the knob on your hoop and place your fabric on top of the stabilizer. Make sure your fabric is taut and all the way down in the frame. Tighten the knob on your hoop to secure the fabric and stabilizer in place.
It’s important to note that if you have excess fabric, you’ll want to make sure it’s not going under the clip where you may be embroidering. You can use binder clips to keep your hoop from popping open and losing your placement halfway through your project.
Starting with scrap fabric is a great way to get to know your machine and how it works. Practice hooping your fabric and getting your design where you want it to be on your project. Once you’re comfortable with the basics, you can move on to more advanced projects and materials.
Basic Machine Embroidery Techniques
How to Get Your Design on Your Project
To get started with embroidery, it’s important to know how to get your design on your project. The first step is to hoop your fabric and stabilizer. Cut a piece of stabilizer that is slightly larger than your hoop on all sides, and place it on the bottom part of the hoop.
Next, take your fabric and place it on top of the stabilizer, making sure it is taut. Use the top part of the hoop to secure the fabric and stabilizer in place, tightening the knob until the fabric is held firmly.
Once your hoop is secured, it’s time to get your design on your project. This will depend on your machine and how you input designs, so consult your manual for specific instructions.
Once your design is loaded onto your machine, you can use the machine’s controls to position the design where you want it on your project.
When your design is in the right position, it’s time to start embroidering. Press the start button on your machine and watch as your design comes to life on your fabric.
Remember to keep an eye on your machine and make any necessary adjustments as you go.
With these basic embroidery techniques, you’ll be on your way to creating beautiful embroidered projects in no time.
Projects Using Machine Embroidery


Makeup Towel
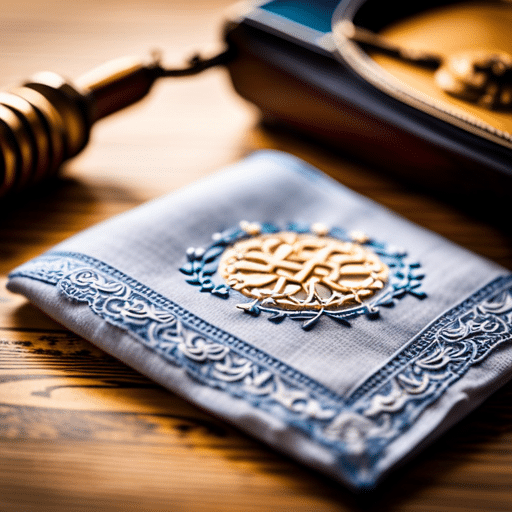
One project I love to make with my embroidery machine is a makeup towel. These are great for keeping your good towels clean and free from makeup stains.
To make a makeup towel, I use a black towel with a band on one end. I hoop the towel with tearaway stabilizer and embroider a design on the band.
The stabilizer helps keep the towel flat and prevents the embroidery from puckering. Once the embroidery is finished, I simply tear away the stabilizer and the towel is ready to use.
Beach Towel
Another fun project to make with an embroidery machine is a beach towel. For this project, I use a water-soluble stabilizer on top of the towel to prevent the embroidery from sinking into the pile.
Once the embroidery is finished, I simply wash the towel and the stabilizer dissolves, leaving only the embroidery behind. This is a great way to personalize a beach towel and make it stand out from the rest.
That’s it for my beginner basics 101 tutorial on how to use an embroidery machine. I hope you found this helpful and feel more confident in getting started with your own embroidery projects. Remember to start with scrap fabric and practice, practice, practice! Happy embroidering!
Advanced Techniques For Machine Embroidery
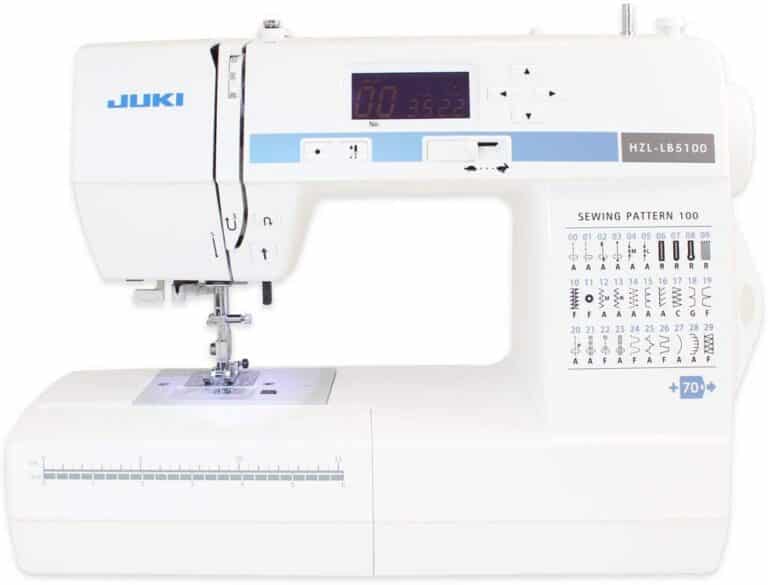
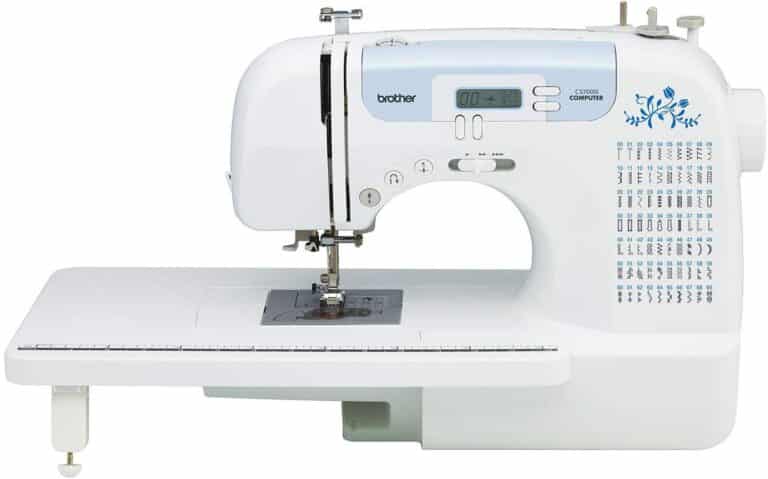
Choosing the Right Machine
When it comes to choosing the right embroidery machine, there are a lot of factors to consider. First and foremost, you need to think about your budget.
Embroidery machines can range from a few hundred dollars to several thousand dollars, so you need to decide how much you’re willing to spend.
Next, you need to think about the types of projects you want to create. If you’re just starting out and plan to do mostly small projects like monograms or appliques, you may not need a high-end machine with a lot of bells and whistles.
However, if you plan to do larger projects or more intricate designs, you may want to invest in a more advanced machine.
Another factor to consider is the size of the embroidery field. This is the area on the machine where you can embroider. If you plan to do larger projects, you’ll need a machine with a larger embroidery field.
Finally, you need to think about the brand and model of the machine. Some of the most popular brands include Brother, Janome, and Singer. Each brand has its own strengths and weaknesses, so you’ll need to do your research to find the right one for you.
Overall, choosing the right embroidery machine can be a daunting task, but if you take the time to do your research and consider your needs and budget, you’re sure to find the perfect machine for you.
Source
Watch the video here