How to Hem Pants: A Quick and Friendly Guide

Table of Contents
Learn to Hem Pants at Home with Hand Stitching or Sewing Machine
Hey there! Today, you can learn how to hem pants using hand stitching or a sewing machine. By mastering this sewing skill, you can achieve the perfect pant length without the need to pay others for it. Plus, it’s an excellent way to ensure your hems are sturdy and longer-lasting.
It’s not uncommon to receive requests for pant hemming around significant events like proms, weddings, and graduations. But now, you can proudly work on your pants and even share this tutorial with those who seek your help.
Here’s a simple step-by-step guide for hemming pants at home:
- Gather materials:
- Pants to be hemmed
- Sewing needle or sewing machine
- Thread that matches the pants
- Sewing pins
- Scissors
- Measuring tape
- Measure and pin:
- Put on the pants inside out, with the shoes you’ll wear with them.
- Fold the pant hems up to the desired length, then pin around the legs evenly.
- Remove the pants. Measure and adjust the fold if needed, ensuring it’s even.
- Sew the hem:
- With a sewing machine: Use a straight stitch to sew around the fold, removing pins as you go.
- By hand: Use a small, even backstitch to sew the fold while removing pins.
- Trim and finish:
- Cut the excess fabric, leaving an adequate seam allowance.
- Use a zigzag stitch or overcast stitch to prevent fraying.
Remember, this tutorial doesn’t cover hemming jeans, which require a different approach. You can find a separate video tutorial for hemming jeans here.
Happy sewing, and enjoy your newly hemmed pants!

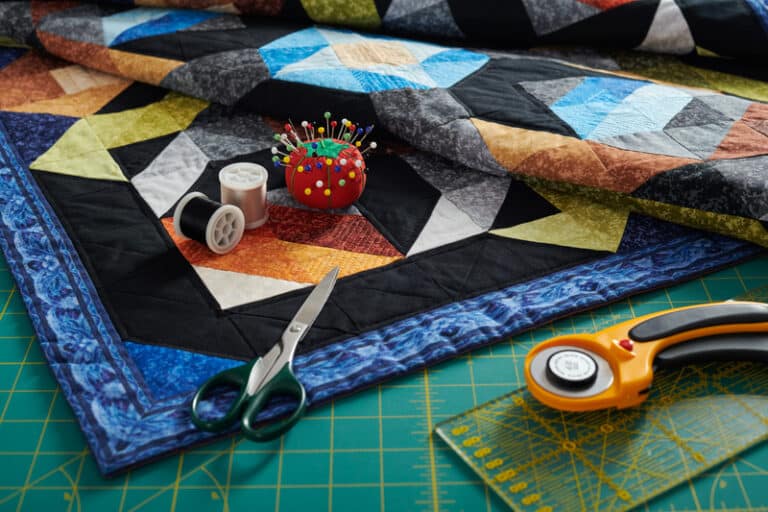
Supplies for Hemming Pants
To effectively hem your pants, gather the essential tools listed below:
- Matching thread: Choose an all-purpose thread that matches the color of your pants.
- Hand sewing needle: This is crucial for stitching the hem.
- Scissors: Fabric scissors are ideal for cutting the material.
- Ruler or measuring tape: Use this to measure the desired length of your pants.
- Pins: Straight pins or safety pins will hold the hem in place as you work.
- Iron: Smooth out and set the hem using an iron or, in a pinch, a hair flat iron or curling iron.
- Optional marking tool: A pen or pencil can be used to mark your new hem. Make sure it washes out easily, and only mark on the inside of the fabric.
- Optional seam ripper: A seam ripper, though optional, can simplify the process of removing existing hems, as opposed to using scissors.
If you’re missing any tools, you can purchase a sewing kit that has everything you need. This could make a fantastic graduation gift for students heading off to college.
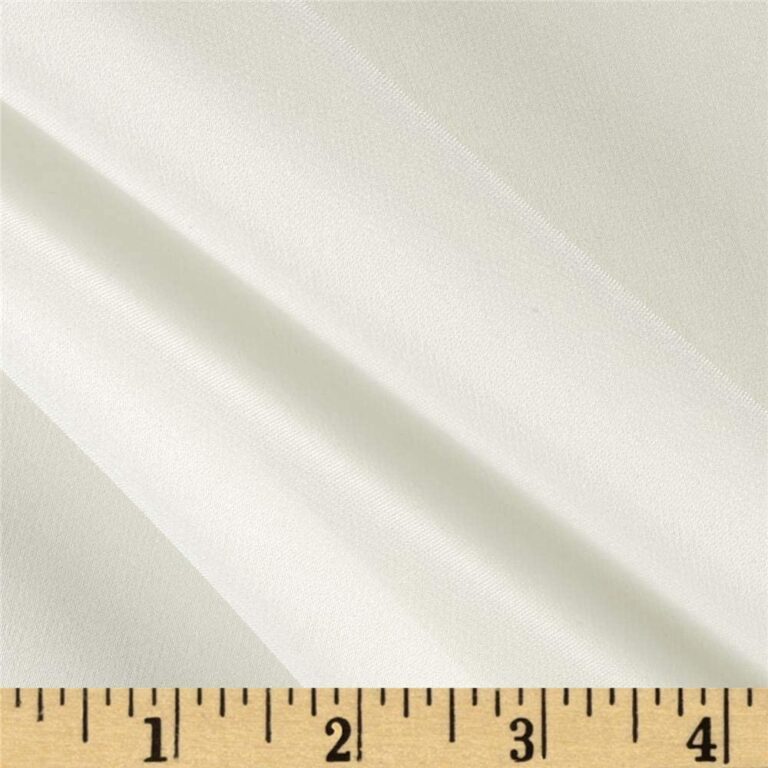
Ensure you select the right fabric for your pants, as it can impact the ease or complexity of hemming. Familiarize yourself with the top fabric choices to find the perfect fit for your project.

How to Hem Your Own Trousers
You’ve got this! To hem your trousers at home, follow these simple steps:
- Put on your shoes and stand in front of a full-length mirror.
- Fold the cuff of each leg up into the desired hem allowance, securing it with pins.
- Remove your trousers and measure the hem allowance to ensure it’s even, adjusting pins as needed.
- Carefully trim excess fabric, leaving a seam allowance.
- For jeans or casual pants, prevent fraying by using a zigzag stitch along the inner leg.
- Turn your trousers right side out and press the hems with an iron to create a neat finish.
Voilà! Now you’ve successfully hemmed your trousers, be it dress pants or denim, without needing a tailor.

Mark Your Hems
To achieve the perfect hem length for your trousers, put them on and fold them to the desired length. Remember to wear the shoes or heels you plan to wear with the pants.
Make sure to have a full-length mirror nearby to check your work. After folding, use pins to hold the new length in place.
If you’re working with pants that are too short and need to be let down, start by removing the current hem using a seam ripper or scissors. Next, iron out the crease from the original hem.
The same initial step can be followed if you’re shortening the pants.
After you’ve pinned your pants to the correct length, take them off and measure the folded section. Turn your pants inside out and mark the new length using a ruler and tailor’s chalk or a pencil.
Add 1 1/4 to 2 1/4 inches below the mark, which will accommodate the actual hem width, typically between 1 and 2 inches, and leave an additional 1/4 inch to fold under to prevent fraying. Trim away excess fabric below the lower mark.
Now, press the bottom edge of the fabric up 1/4 inch on the wrong side with an iron. Fold again and press up the desired finished hem width.
For example, if you want a 1-inch finished hem, leave 1 1/4 inches below your new length, press up 1/4 of an inch, and then press up again 1 inch. Secure the new hem in place with pins. You’re now one step closer to perfectly tailored trousers!

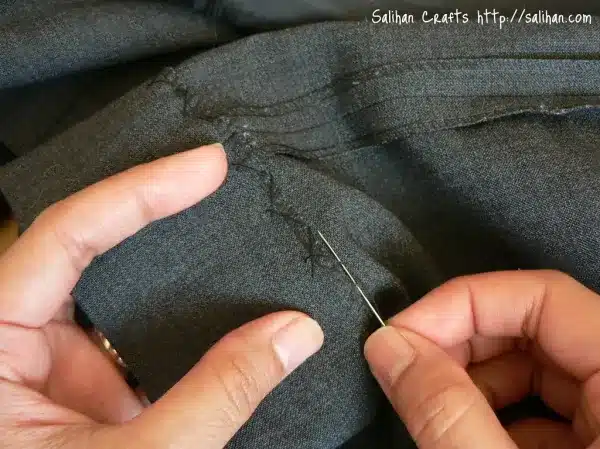
Hand Hemming: A Quick Guide
Thread the needle and form a knot at the end of the thread. Get your sewing project ready, and let’s begin!
First, push your needle upward through the cuff, ensuring it comes from between the pants and the fold so that the knot stays hidden. Pull the thread all the way through.
Position the needle approximately 1/2 inch away with a perpendicular angle to the pants leg. Carefully, poke it downward through the folded edge and slightly into the pants.
Catch just a few threads from the pant leg with the needle, then redirect it back onto the wrong side. Pull the thread entirely through. Congratulations! You’ve done your first stitch.
Keep making these stitches every half an inch around the pant leg until you return to your starting point. As you form the final stitch, go through the folded edge twice without pulling the thread loop all the way to the fabric.
Instead, loop your needle through the thread 3 to 4 times, and then pull it tight to form a knot. Cut the remaining thread, and there you have it – an expertly done invisible hem using a blind hem stitch and hand sewing techniques.
Your sewing needle, slip stitch, and blind hem have worked together to create a professional-looking finish. Happy sewing!

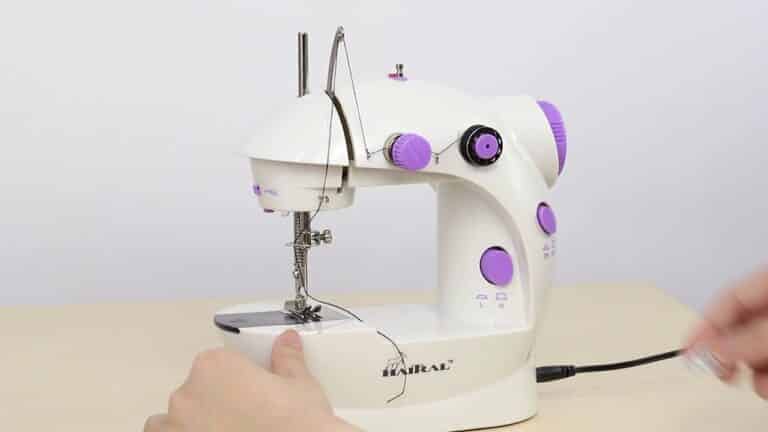
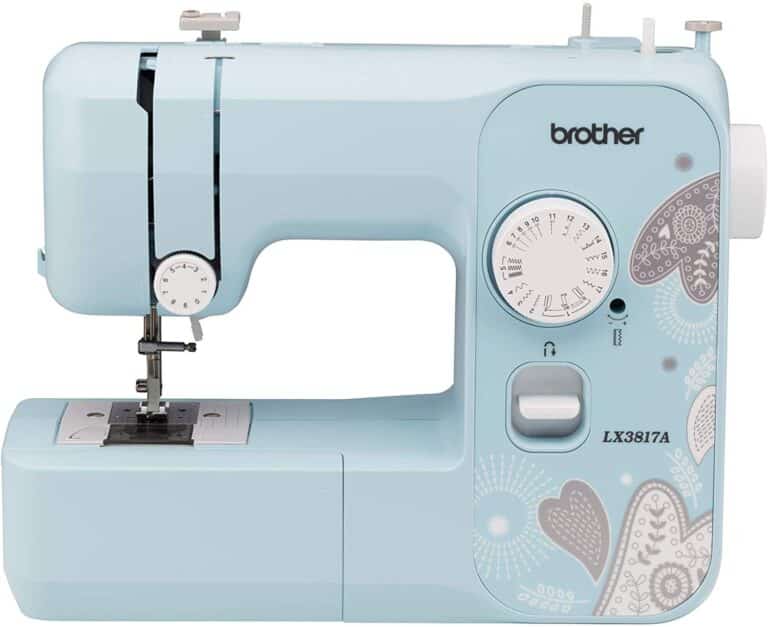
Sewing Machine Hemming
When hemming pants with a sewing machine, fold, measure, mark, and cut your pants accordingly. You can achieve a professional finish by sewing a blind hem stitch, which combines a zigzag stitch with a straight stitch for a hand-sewn appearance.
To begin, align your fabric’s edge with the presser foot, and use a straight stitch to create a stable foundation.
Switch to a zigzag stitch, ensuring that the needle passes through the double fold hem and catches the main fabric. As you sew, make sure to keep the stitched hem taut.
Finish by performing a backstitch to secure the hem. With a little practice, your sewing machine can create clean, polished hems on all types of garments. If you’re looking for the top sewing machines for hemming, check out these 5 Best Sewing Machines for Hemming: Top Picks [2023]. Happy sewing!