How to Add Smocked Sections to a Pattern

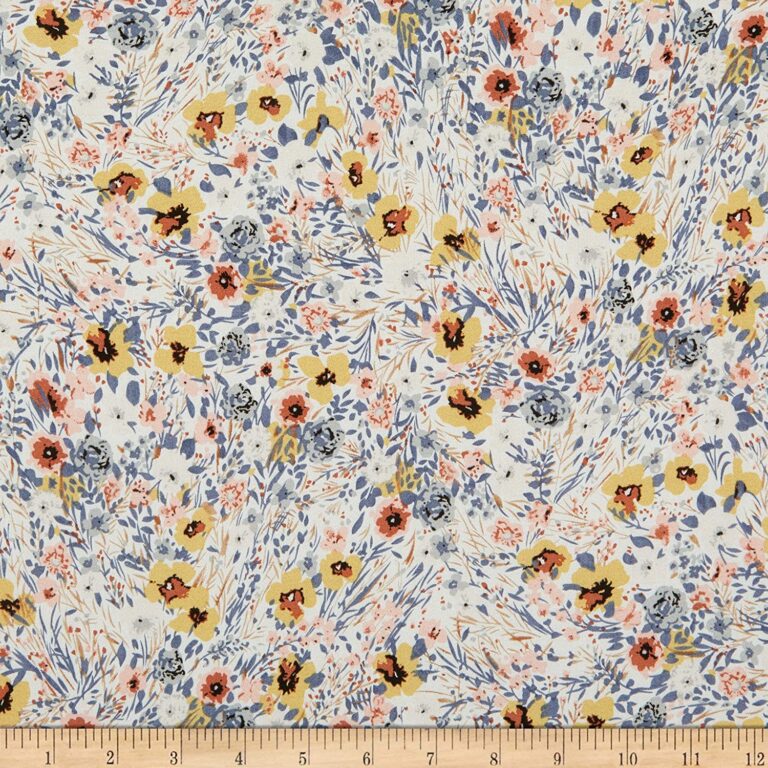
 Smocking refers to a specific type of embroidery stitch. It involves making pleats or gather in the sewing fabric, which are held in place by making long stitches along the back of the material and small stitches along the front. Often, embroidery thread and floss is used to make details in the smocking, such as delicate flowers and other intricate designs.
Table of Contents
Determine the Size of the Fabric Switch
First, you’re going to need to determine how large the swatch of fabric needs to be in order to apply the smoked section. We suggest adding a few inches in both directions, as it will give you a bit of flexibility; it’s always better to err on the side of caution and have more than less. You can cut the excess after the smocking has been added.
Align the Smocked Section
Next, you’re going to want to line up the smocked section with the fabric you are applying it to. Do this on the opposite side of the fabric. Use some handy sewing tools to help you determine where the center of the material is that the smocking will be added to. Once you figure out the center, pin the smoked yoke to the fabric.
Start Sewing
Once the smocked section is affixed in the right position, you can attach sew it in place. You can use your sewing machine or a hand sewing needle to secure it in place. Follow the directions that were provided with the smoked fabric; they should tell you what type of stitches to use in order to ensure that the smocking is properly secured in place. It goes without saying, but make sure that you sew a straight line around the entire smocked section.
Tips
Here are some tips to help ensure that you get the best results when adding a smocked section to a sewing pattern:
- Make sure you’re working with a high quality thread. The stronger it is, the more secure it will be. We also suggest using a thread that matches the color of the smoking to make it look more natural.
- Take your time! There’s no need to rush. As with any sewing project, rushing will detract from the look of the finished product.
Summing It Up
Now that you know how easy it is to add a smocked section to a sewing pattern, go ahead and give it a try! After completing the task once, you’ll probably want to add smocking to more of your sewing fabric; in fact, it might become one of the sewing essentials in your sewing room!