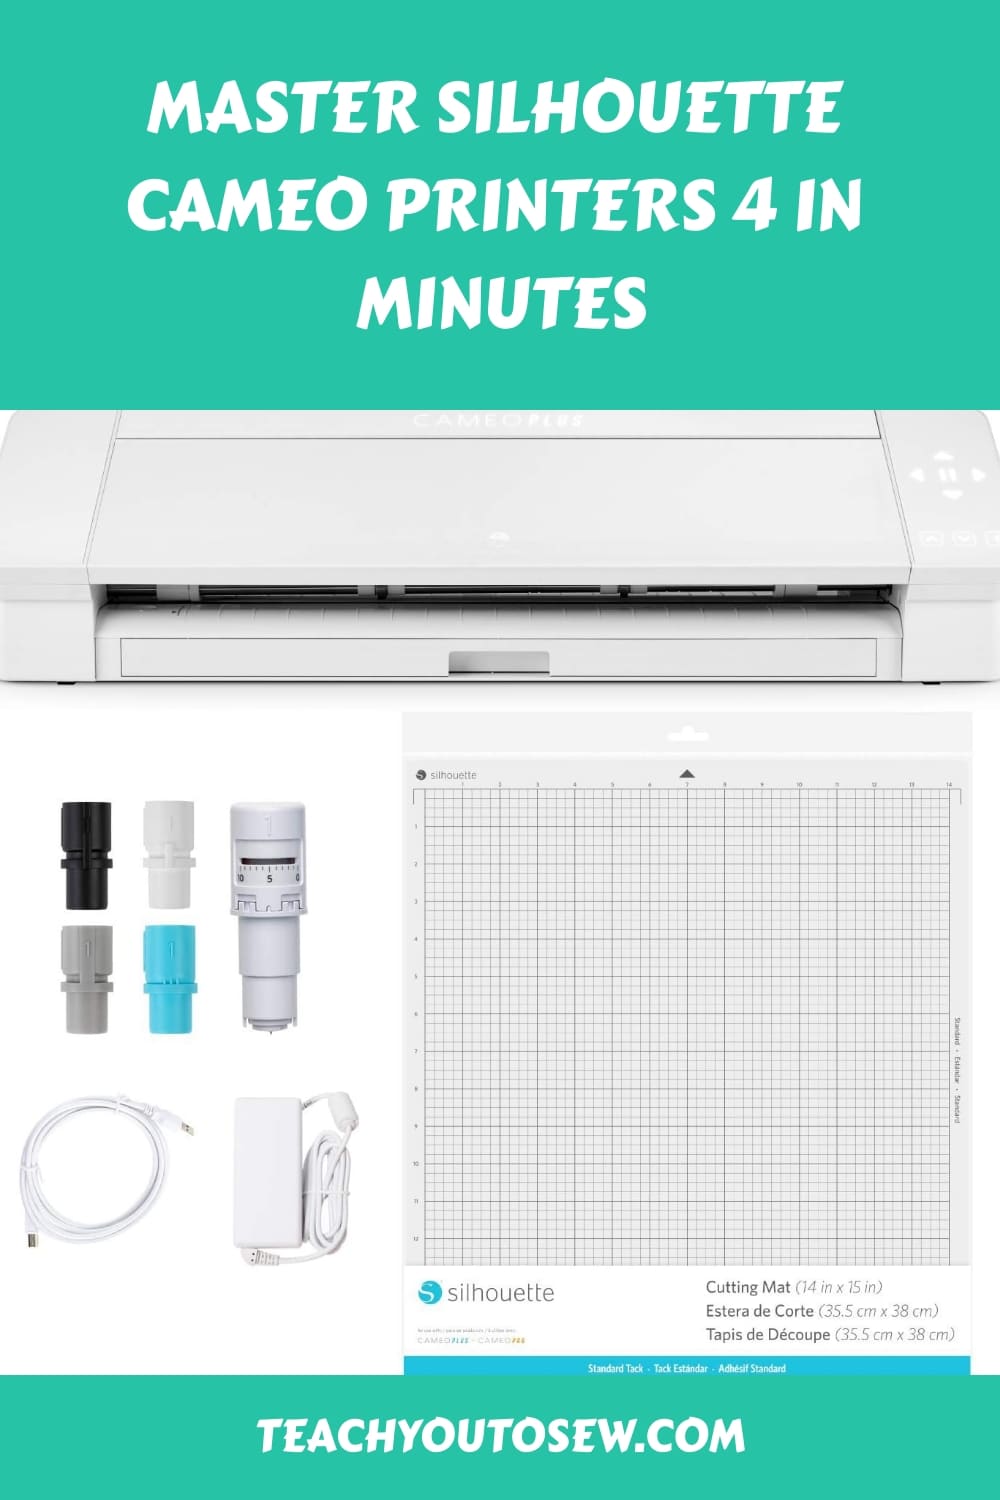
Master Silhouette Cameo Printers 4 in Minutes

Hi Joleen here with another great video I found for you on the Silhouette cameo printers.
Melissa shares a beginner-friendly print and cut tutorial for making stickers using Silhouette Studio for cameo printers She provides a free design for download and recommends using good quality matte sticker paper to avoid reflection issues.
Melissa simplifies the process by setting up the design with registration marks and cut lines in Silhouette Studio, making it easy for beginners to print and cut their own stickers.
Table of Contents
- 1 WHY I RECOMMEND THIS VIDEO
- 2 Setting up the Sticker Design Cameo Printers
- 3 Preparation of Materials
- 4 Printing Process for Cameo Printers
- 5 Cutting Process Cameo Printers
- 6 Finalizing the Stickers Cameo Printers
- 7 Testing the Stickers Cameo Printers
- 8 Removing the Stickers from the Mat
- 9 FINAL ADVICE Cameo Printers
- 10 Potential Uses of Print and Cut
- 11 WATCH THE VIDEO HERE
Key Takeaways Cameo Printers
- Use good quality matte sticker paper to avoid reflection issues.
- Melissa simplifies the process by setting up the design with registration marks and cut lines in Silhouette Studio, making it easy for beginners to print and cut their own stickers.
- Print and cut can be used in many ways, such as printable vinyl or heat transfer vinyl, and is an essential skill to learn.
WHY I RECOMMEND THIS VIDEO
- “Wow! I can’t believe the precision of Cameo 4 Print and Cut!” Slice through any design with unparalleled accuracy, making even the most intricate patterns a breeze.
- “It’s like my creative dreams just exploded into reality!” The machine’s dual carriage allows for tool type detection, expanding my crafting capabilities in unimaginable ways.
- “Finally, a machine that keeps up with my pace.” With its increased speed and power, I don’t have to wait around anymore; I can execute my ideas instantly!
- “Oh, the materials it can handle…just incredible!” From cardstock to vinyl to fabric and more – there’s no limit to what I can create.
- “The convenience is unbeatable!” Wireless capability means I can print and cut from anywhere in my home – no cables tying me down.
Setting up the Sticker Design Cameo Printers
To set up the sticker design, download the free set from Sofonti, which includes a sticker design, a beginner-level vinyl design, and a beginner-level heat transfer design. The sticker design is set up for you with registration marks and cut lines, so you don’t need to worry about tracing or creating cut lines.
Simply open the file in Silhouette Studio, and it’s ready to go.
Next, choose a good quality paper to print your stickers on. A matte paper is recommended to avoid any reflections from lights or other sources.
The online label sticker paper used in the tutorial is a great option for beginners and can be used with both inkjet and laser printers.
Once you have your paper and design ready, load the sticker paper into your inkjet printer, making sure to select “matte paper” and “best quality” in the print settings. After printing, load the printed sheet onto your cutting mat and place it in your Silhouette machine.
Select “sticker paper white” as the material in Silhouette Studio’s send panel, and the default cut settings will work for you.
After the machine has finished cutting, test one of your stickers to make sure you got a good cut. If everything looks good, unload the mat and peel off your stickers.
With these simple steps, you can easily set up and print your own custom stickers using Silhouette Studio.
Preparation of Materials
Before starting the print and cut process for making your own stickers, it is important to gather all the necessary materials. You will need a good quality matte sticker paper, an inkjet printer, a cutting mat, and a Silhouette cutting machine.
The speaker recommends using sticker paper from Online Labels, which is available in different types. For beginners, the matte white paper is suggested as it reduces the reflection from lights and other sources. The paper can be used with both inkjet and laser printers.
Once you have the paper, download the free design set from Sofonti, which includes the sticker design and the page setup for Silhouette Studio. The design set also includes beginner level vinyl and heat transfer designs.
After downloading the set, unzip the file and open it in Silhouette Studio. The file is already set up with registration marks and cut lines, so you don’t need to worry about setting them up.
Next, load the sticker paper into the printer and set the printer to print on matte paper at the best quality. Once the printing is done, it’s time to cut the stickers.
Load the printed sticker paper onto the cutting mat and place it in the Silhouette cutting machine. In Silhouette Studio, select the material as sticker paper white and use the default cut settings.
The machine will look for the registration marks and cut around the edge of the design.
Before unloading the mat, test one of the stickers to ensure that it has been cut properly. Once you are satisfied with the cut, unload the mat and remove the stickers from the paper.
By following these steps for preparing the materials, you will be ready to print and cut your own stickers with ease.


Printing Process for Cameo Printers
KNowing the printing process is the first step in creating your own stickers using Silhouette Studio. It is important to use good quality paper to avoid any reflection from lights or other sources.
In this tutorial, we are using matte paper from Online Labels, which is suitable for both inkjet and laser printers.
Once you have downloaded the design from Sofonti and unzipped the file, open the design in Silhouette Studio. The registration marks and cut lines are already set up for you, so all you need to do is print.
Click on the print icon and select “matte paper” and “best quality” settings. Make sure that the printer does not determine anything for you.
After printing, it’s time to move on to the cutting process. Place the printed sheet on the cutting mat and load it into the Silhouette machine.
Make sure that the left edge is right up against the gray line and press the up arrow. The machine will then look for the registration marks and begin cutting around the edge where the cut line was in Silhouette Studio.
Before unloading the mat, test one of your stickers to make sure that you got a good cut. If everything looks good, unload the mat and pull your sticker up. Congratulations, you have successfully printed and cut your own sticker!
Remember, the key to successful print and cut is to have the right settings in Silhouette Studio and use good quality paper. With practice, you can create a variety of print and cut projects, including printable vinyl and heat transfer vinyl.
Cutting Process Cameo Printers
After printing the stickers, it’s time to move onto the cutting process. The first step is to load your printed sheet onto the cutting mat.
Make sure to place it in a way that the left edge is right up against the gray line. The registration marks are important, as they help the Silhouette machine know where to cut.
Next, select the material as “Sticker Paper White” in the Send panel of Silhouette Studio. The default cut settings in Silhouette Studio will work for you, so you don’t have to worry about changing anything. If you’re a beginner, it’s recommended to use the autoblade.
Press the “Send” button in Silhouette Studio, and the machine will begin cutting. It will first look for the registration marks, and then cut around the edge where the cut line was in Silhouette Studio.
Before unloading the mat, it’s a good idea to test one of your stickers to make sure you got a good cut. If everything looks good, you can unload the mat and remove the stickers from the cutting mat.
Congratulations, you have successfully printed and cut your own stickers! Remember, the key to a successful print and cut process is to have good quality paper and the correct settings in Silhouette Studio.
Finalizing the Stickers Cameo Printers
Now that you have successfully printed and cut your stickers, it’s time to finalize them. The first thing you want to do is remove the excess material around the stickers.
You can do this by simply peeling away the excess material from the cutting mat. Be sure to use a spatula or scraper tool to help lift the stickers off the mat if necessary.
Next, you’ll want to remove the sticker from the backing paper. You can do this by gently bending the paper and peeling the sticker away from the backing. The sticker should easily come off without any tearing or damage.
Once you have your stickers removed from the backing paper, you can start using them. You can apply them to notebooks, water bottles, laptops, or anything else you want to personalize.
Be sure to smooth out any air bubbles or wrinkles to ensure a clean and professional look.
And that’s it! With just a few simple steps, you can create your own custom stickers using your Silhouette cutting machine. Remember to start with good quality paper and follow the printing and cutting instructions carefully.
With a little practice, you’ll be a pro at print and cut in no time. Happy crafting!
Testing the Stickers Cameo Printers
Now that we have printed and cut our stickers, it’s time to test them out. Peel off one of the stickers and place it on a clean surface. Smooth out any bubbles or wrinkles with your fingers.
Take a step back and admire your work. The sticker should be completely flat and free of any bubbles or wrinkles. If you notice any imperfections, it may be due to a problem with your printer or cutting settings.
If you’re happy with the results, continue to print and cut more stickers using the same process. If not, try adjusting your printer or cutting settings until you get the desired outcome.
Remember to always use high-quality sticker paper to ensure the best results. The matte paper recommended in this tutorial is a great option for beginners, as it minimizes the risk of reflection and other issues.
Overall, print and cut stickers are a fun and easy way to add personality to your belongings. With a little practice, you’ll be able to create custom stickers for all of your favorite things.
Removing the Stickers from the Mat
Now that you have successfully printed and cut your stickers, it’s time to remove them from the mat. This step is crucial to ensure that your stickers come out looking neat and clean.
To remove the stickers, gently peel the mat away from the sticker sheet. You can also bend the mat slightly to help release the stickers. Be careful not to bend the stickers or they may become damaged.
If your stickers are not coming off easily, you can use a scraper tool to help lift the edges. Just be sure to use a light touch to avoid tearing the stickers.
Once you have removed all the stickers from the mat, you can use them as desired. Whether you’re decorating your planner, labeling your pantry, or adding some flair to your laptop, your freshly printed and cut stickers are sure to impress.
Remember, practice makes perfect when it comes to print and cut. Don’t be discouraged if your first few attempts don’t turn out perfectly. With a little patience and perseverance, you’ll be a print and cut pro in no time!
What is the Silhouette Cameo 4 Print and Cut? The Silhouette Cameo 4 Print and Cut is a cutting machine that allows you to print designs on a printer and then cut them out with precision using the Cameo 4 machine. This makes it easier to create intricate designs and shapes for various projects.
What materials can I use with the Silhouette Cameo 4 Print and Cut? The Silhouette Cameo 4 Print and Cut can cut various materials such as vinyl, cardstock, paper, fabric, and even some thin metals. However, it’s important to note that the thickness and texture of the material can affect the quality of the cut.
How do I set up the Silhouette Cameo 4 Print and Cut? To set up the Silhouette Cameo 4 Print and Cut, you will need to download the Silhouette Studio software and connect your machine to your computer. From there, you can create or import your designs, print them on your printer, and then load them into the Cameo 4 machine to cut.
Can I use the Silhouette Cameo 4 Print and Cut for commercial purposes? Yes, you can use the Silhouette Cameo 4 Print and Cut for commercial purposes as long as you have the appropriate licenses for any designs or fonts used in your projects.
What are some tips for getting the best results with the Silhouette Cameo 4 Print and Cut? Some tips for getting the best results with the Silhouette Cameo 4 Print and Cut include using high-quality materials, adjusting the blade depth and pressure settings based on the material you’re using, and ensuring that your printer is properly calibrated for accurate printing. It’s also important to clean the blade and machine regularly to prevent any buildup or damage.
FINAL ADVICE Cameo Printers
Congratulations, you have successfully created your own print and cut stickers! I hope this tutorial has been helpful for you and has taken some of the frustration out of the print and cut process.
Remember, the key to successful print and cut is to start with good quality paper and to make sure your settings are correct.
Don’t be intimidated by print and cut, it’s actually not hard to do. If you’re having trouble, take a step back and make sure you have the process down first. Once you have that down, you can start adding in more advanced techniques like registration marks and offsets.
Print and cut is one of the best features of Silhouette Studio and the Silhouette cutting machine. It can be used in so many ways, not just for stickers. You can use it for printable vinyl, printable heat transfer vinyl, and even for making print and cut designs for your scrapbook.
I encourage you to keep practicing and experimenting with print and cut. It’s a great skill to have and can open up a whole new world of creative possibilities. Thank you for watching and happy crafting!
Potential Uses of Print and Cut
Print and cut is a feature of Silhouette Studio that can be used in various ways. One of the most popular uses is for making stickers.
As shown in the tutorial, you can easily print and cut your own stickers using high-quality matte paper and an inkjet printer. However, print and cut can also be used for other applications such as printable vinyl and printable heat transfer vinyl.
Printable vinyl is a great option for creating personalized decals for your car, laptop, or any other smooth surface. You can print your design on the vinyl and then cut it to the desired shape using the print and cut feature.
Printable heat transfer vinyl is perfect for creating custom t-shirts, bags, and other fabric items. You can print your design on the vinyl and then cut it to the desired shape before applying it to your fabric with a heat press.
In addition to vinyl and heat transfer vinyl, print and cut can also be used for creating labels, cards, and other paper crafts. You can use various types of paper to create different effects and textures.
For example, you can use textured paper to create a unique look for your cards or labels.
Overall, print and cut is a versatile feature that can be used in many different ways. Whether you’re making stickers, decals, or paper crafts, print and cut can help you achieve professional-looking results with ease.
WATCH THE VIDEO HERE