
Sewing Machine Tension Issues SOLVED

Hey Everyone!
In this article, I want to share some tips and steps to help you avoid getting sewing machine tension issues or nests in your sewing machine.
One of the first tips I have is to make sure your thread placement is correct. Always ensure that the screen is behind and not in front of the thread. Also, remember to thread your sewing machine properly and use separate colored threads for the top and bottom to troubleshoot any issues.
Another tip is to lower your pressure foot and manually lower your needle before starting to sew. Adjusting the tension is also crucial in achieving the perfect stitch, but keep in mind that it’s a trial and error process. With these tips, you can avoid bird’s nests and troubleshoot any issues with your sewing machine.
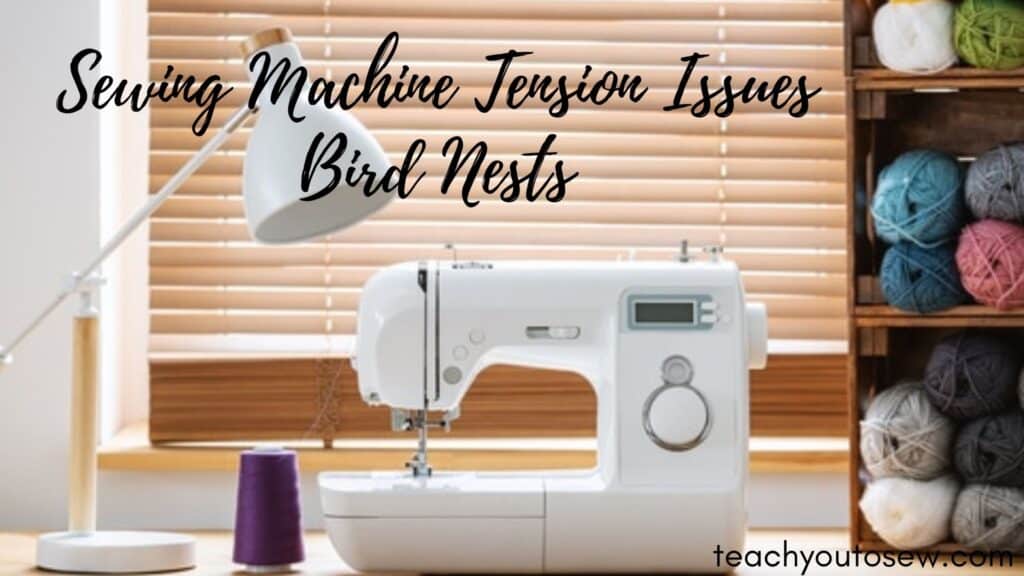
Table of Contents
- 0.1 Key Takeaways
- 0.2 Why is my sewing machine thread breaking frequently?
- 0.3 How do I choose the right thread for my sewing project?
- 0.4 Why is my sewing machine thread bunching up and creating loops on the underside of my fabric?
- 0.5 How do I prevent my sewing machine thread from tangling while I sew?
- 0.6 Can I use different types of thread in my sewing machine, or do I need to stick to one type?
- 1 Thread Placement in Sewing Machine Tension Issues
- 2 Threading Your Sewing Machine
- 3 Using Separate Colored Threads Sewing Machine Tension Issues
- 4 Lowering the Pressure Foot Sewing Machine Tension Issues
- 5 Manually Lowering the Needle Sewing Machine Tension Issues
- 6 Adjusting Tension Sewing Machine Tension Issues
- 7 Troubleshooting Stitches
- 8 Sewing Machine Tension Issues Resolved
- 9 Sources
Key Takeaways
- Thread placement is crucial in avoiding bird’s nests in your sewing machine.
- Proper threading and using separate colored threads can help troubleshoot issues.
- Lowering the pressure foot and manually lowering the needle are important steps before starting to sew.
Why is my sewing machine thread breaking frequently?
How do I choose the right thread for my sewing project?
Why is my sewing machine thread bunching up and creating loops on the underside of my fabric?
How do I prevent my sewing machine thread from tangling while I sew?
Can I use different types of thread in my sewing machine, or do I need to stick to one type?
Thread Placement in Sewing Machine Tension Issues
As mentioned in the video, thread placement is crucial to avoiding bird’s nests and other issues with your sewing machine. The first thing to keep in mind is that the screen or spool of thread should always be behind the machine, not in front of it. Placing the thread in front can cause it to tangle and create issues with your stitches.
To ensure proper thread placement, take a moment to double-check that the spool of thread is located behind the machine. If you’re unsure, simply take the thread off and flip it upside down to ensure it’s in the correct position.
Another important tip is to make sure your top and bottom threads are different colors. This will help you troubleshoot any issues that arise and identify whether the problem is with the top or bottom thread.
When threading your machine, make sure to insert the bobbin into the lower half of the machine and thread it properly. Just like with the top thread, the string should always be behind the machine.
Finally, before you start sewing, make sure to manually lower your sewing needle using the knob on the side of the machine. This will prevent the needle from breaking and causing issues with your thread.
By following these tips for proper thread placement, you can avoid issues with your sewing machine and achieve beautiful, consistent stitches every time.
Threading Your Sewing Machine
When it comes to threading your sewing machine, there are a few things you need to keep in mind to avoid getting a bird’s nest. Firstly, make sure that the thread is placed correctly. The thread should always be in the back, not the front. If the thread is in the front, simply flip it upside down to get it behind.
Next, you need to thread your sewing machine properly. If you’re not sure how to do this, consider taking an online course. Once you’ve threaded your machine, it’s important to ensure that your top and bottom threads are different colors. This will help you troubleshoot any issues that may arise.
When you’re ready to start stitching, make sure that your pressure foot is lowered. This is an important step that many people forget. Additionally, you should manually lower your needle to avoid it breaking and causing issues with your thread.
Finally, it’s important to play around with the tension until you get the perfect stitch. This is a trial and error process, as everyone’s sewing machine is different. It’s also a good idea to get your machine serviced if you’re having trouble getting the perfect stitch even after adjusting the tension.
By following these tips, you should be able to avoid getting a bird’s nest and get the perfect stitch every time.
Using Separate Colored Threads Sewing Machine Tension Issues
When troubleshooting issues with your sewing machine, it is important to use separate colored threads for the top and bottom threads. This allows you to easily identify where any issues may be coming from.
To do this, simply replace the bottom bobbin with a bobbin of a different color than your top thread. For example, if your top thread is black, use a pink bobbin for the bottom thread.
When making stitches, check both sides of the fabric to ensure that each side has a perfect triangle and that only one color is visible on each side. If you see both colors on one side, adjust the tension until you achieve the desired result.
Remember, every sewing machine is different and may require different tension levels. It is important to experiment and find what works best for your machine. If you are having trouble achieving the desired stitch quality, it may be time to get your machine serviced or cleaned.
Using separate colored threads is a simple yet effective way to troubleshoot issues with your sewing machine and ensure that your stitches are of the highest quality.
Lowering the Pressure Foot Sewing Machine Tension Issues
When it comes to sewing, many people forget to lower their pressure foot before starting to stitch. This can cause issues with the thread and lead to a bird’s nest. It’s important to make sure that the pressure foot is lowered before beginning to sew.
To lower the pressure foot, you need to locate the latch on your sewing machine. This latch is usually located on the left side of the machine, near the needle. Once you find the latch, simply push it down to lower the pressure foot.
Lowering the pressure foot is important because it helps to keep the fabric in place while you’re sewing. If the pressure foot is not lowered, the fabric can move around and cause issues with the stitching. It also helps to create even stitches and prevent the fabric from bunching up.
Before you begin stitching, always make sure that your pressure foot is lowered. This will help to ensure that your stitching is even and that you don’t run into any issues with the thread. So, don’t forget to check your pressure foot before you start sewing!
Manually Lowering the Needle Sewing Machine Tension Issues
When it comes to sewing, it’s important to make sure that your needle is in the correct position before you start stitching. Manually lowering the needle is a crucial step that should not be overlooked.
To manually lower the needle, you simply need to turn the knob on the side of your machine. It’s important to do this before you start stitching because if you don’t, it can cause your needle to break and it can cause issues with your thread.
Lowering the needle manually also ensures that you have control over the placement of your stitches. This is especially important when you’re working on a project that requires precision, such as quilting or embroidery.
Remember, always manually lower your needle before you start sewing. It’s a simple step that can save you a lot of frustration and prevent damage to your machine.
Adjusting Tension Sewing Machine Tension Issues
When it comes to sewing, adjusting your tension is a crucial step in achieving the perfect stitch. To adjust tension, start by setting your machine to zero and practicing stitches on different tension levels to find the one that works best for your machine.
Remember to change the tension level gradually and test the stitch on both sides of the fabric to ensure that the tension is balanced. The goal is to achieve a perfect triangle on both sides of the fabric with only one color visible on each side.
It’s important to note that every sewing machine is different, and the tension level that works for one machine may not work for another. The more you use your machine, the more you may need to adjust the tension level to maintain the perfect stitch.
If you’re having trouble finding the right tension level, it may be time to get your machine serviced. A professional can clean and tighten any loose screws, ensuring that your machine is in top condition and ready for your next project.
Remember, adjusting tension is just one step in achieving the perfect stitch. By following these tips and taking the time to practice, you can avoid issues like bird’s nests and create beautiful, professional-quality projects every time.
Troubleshooting Stitches
When it comes to sewing, one of the most frustrating things that can happen is when you end up with a bird’s nest of thread on the underside of your fabric. However, there are steps you can take to avoid this from happening in the first place.
One of the most important things to keep in mind is proper thread placement. Always make sure that the thread is placed behind the screen, both for the top thread and the bottom thread. If the thread is placed in front, it can cause issues with tension and lead to a bird’s nest.
Another important step is to make sure that your pressure foot is lowered. This latch is located on the side of your sewing machine, and if it’s not lowered, your thread can get caught and cause issues.
When troubleshooting your stitches, it’s best to use two separate colors of thread for the top and bottom. This will help you identify where the issue is coming from. Start with a tension setting of zero and practice stitches on a piece of cardboard paper found inside of we caps. Look at both sides of the paper to see if the triangles are perfect and if there is only one color on each side. If not, adjust the tension setting and try again.
Remember that every sewing machine is different, so it may take some trial and error to find the perfect tension setting for your machine. Don’t be afraid to adjust the tension as needed until you achieve the perfect stitch. And if you’re still having issues, it may be time to get your machine serviced and cleaned.
Sewing Machine Tension Issues Resolved
I hope that these tips and steps have been helpful for you in avoiding the dreaded bird’s nest when using your sewing machine. Remember to always place your top and bottom thread behind the screen, and to use separate colors for troubleshooting purposes. Additionally, make sure to lower your pressure foot and manually lower your needle before beginning to sew.
When it comes to sewing machine tension issues, it’s important to remember that every sewing machine is different and may require different tension levels. It’s a trial-and-error process, but don’t be discouraged if you have to try multiple levels before finding the perfect one for your machine. And if you find that you have to set your tension to a very high level, it may be time to get your machine serviced.
Overall, with these tips and steps, you can avoid the frustration of dealing with a bird’s nest and enjoy a smooth sewing experience. Happy sewing!
Sources
View the video here
my last machine drove me nuts with its tension issues
These are good tips for a frustrating issue.
I love this info!
These were useful tips.