It’s good to see that you made it through the last lesson where you learned to sew a straight line. And if you really did, and have gotten a fair bit of practice, you will probably really enjoy this lesson. And that’s simply because it’s not much different from the last lesson; it too involves sewing straight, but you need to do it while sticking to a zigzag stitch.
Why You Need a Zigzag Stitch
Before I teach you to sew a zigzag stitch, let me tell you why you would want to learn it. Here are three of the most common and important reasons that call for zigzag sewing.
Sturdiness
When compared to straight stitches, the zigzags turn out to be significantly sturdier. Of course, there are many sewing works that could do with some extra sturdiness.
This especially includes things that need to be held tighter, as the sturdiness helps achieve that. If you’re adding a hood to a piece of clothing, for example, zigzag stitches would be great!
Prevent Fraying
Anything sewed with zigzag stitches will be very less likely to fray as compared to things sewed with straight stitches. This is especially true when it comes to the edges, as there are commonly affected by fraying.
However, with zigzag stitches, there would be no raw, frayed edges, and the piece of clothing will hold up nice and tight. When working on something with raw edges, however, make sure you sew those edges first.
Used in Applique and Button Holes
We are also going to have a lesson on appliques and buttons, and you will understand why and how being able to do zigzag stitches can come in handy.
Sewing Zigzag Stitches
Now that you know when you might have to sew zigzag stitches, let me teach you how to do it.
The initial stage of the stitching process is going to be the same as when sewing straight lines. You will simply be threading your bobbin and machine.
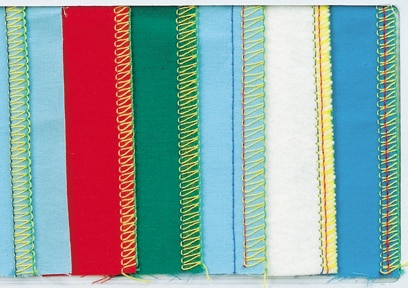
Now, you will have to switch your machine into the zigzag sewing mode from straight sewing mode. Depending on your sewing machine, there might be a picture of a zigzag stitch, a number or even a letter that would tell you that it represents the zigzag stitching mode.
If you have already referred to your machine manual carefully, you shouldn’t have a problem with this. If you haven’t, just do and it should get easy enough.Now once your machine is set to sewing zigzag lines, you’re good to go. Something to note here however, is that the stitches are going to be of the average length and width. So you would have to change them if you want longer or shorter stitches.
If you go as low on the length as possible, you would have stitches that are right next to each other with very little space in between. This kind of arrangement is known as a Satin Stitch.
Once you understand these basics, you can play around with the length and width a bit to get a feel of zigzag stitches. Although, you will probably find yourself sticking to the average length and width most times. However, being able to sew at different settings can come in handy when working on something slightly out of the ordinary.
Now, to start to sew a zigzag stitch, first lower the pressure foot and let the needle go into the fabric. Then make sure the machine is set to zigzag stitching.
You can then sew forward an inch, press the back-stitch button to go back over the stitch, and again stitch forward over it to make a knot – just like you did when sewing a straight line. Now you’re all set to continue sewing in zigzag mode. Also, you can always use seam guides or the edge of the pressure foot to ensure even sewing.
Finally, let us address a rather common issue many face when sewing zigzag stitches, especially when working on lightweight fabric. The fabric may kind of gather and feel like it’s developing a tunnel underneath.
To prevent this from happening, you can choose the option next to the zigzag one, which would usually be a zigzag with dots. This would prevent the tunnel effect even on lightweight fabrics by making three stitches for every zigzag.
And that’s pretty much all about it. I’m sure you wouldn’t call this difficult, would you? If you survived sewing a straight line, there’s no way this shouldn’t turn out to be a breeze for you.
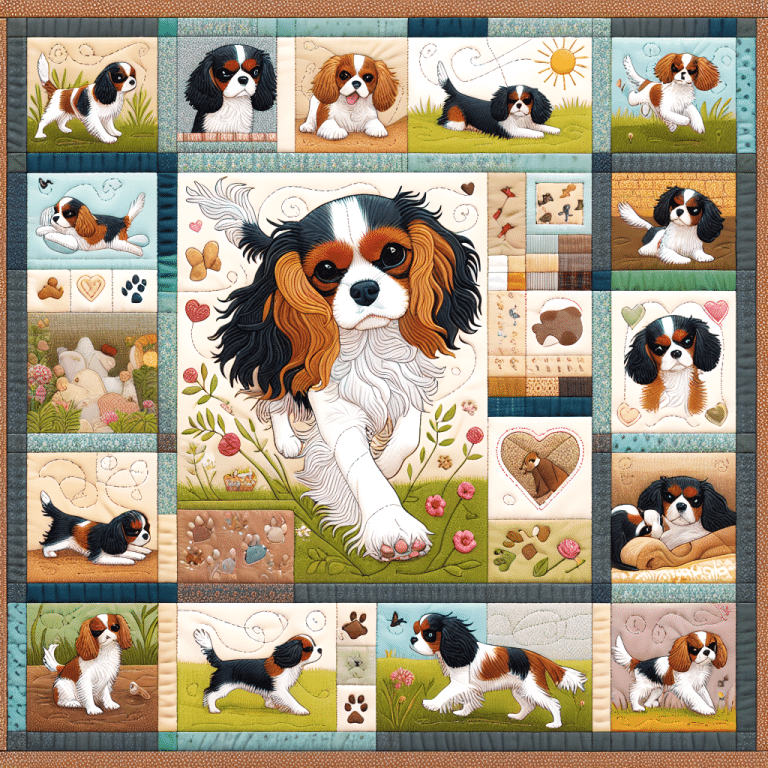
Table of Contents1 TeachYouToSew.com Digital Quilt Block Designs To Download2 Understanding Digital Quilt Blocks2.1 History of Quilt Blocks2.2 Digital…