How to Make a Sewing Pattern Bigger (or Smaller!)

 One of the more difficult things to do when it comes to sewing is making a pattern bigger or smaller. It’s also a pretty common issue, as the free patterns you find on the Internet or sometimes even the ones you buy typically come in a particular size, which is obviously not going to fit everyone.
| Content Summary | Pros | Cons |
|---|---|---|
| Explanation of pattern grading process | – Helps in making a pattern bigger or smaller – Provides understanding of slash and spread grading |
– No specific cons mentioned |
| Determining how much to add | – Provides guidance on measuring and comparing sizes – Explains the calculation for adding to pattern – Gives example for adults and children |
– No specific cons mentioned |
| Spreading out the pattern to increase size | – Explains dividing the increase into vertical cuts – Provides clear instructions on where to add the increase – Emphasizes the importance of not increasing all parts uniformly |
– Dividing into 3 can get messy |
| Checking the accuracy of resized pattern | – Suggests checking corners of bodices for straight lines – Highlights limitations for resizing certain pattern sets – Mentions the need for muslin cloth for fit testing |
– Limited applicability of corner straight line method |
| Dealing with challenges for petite women | – Offers tips for resizing patterns for petite women – Mentions blending around edges and decreasing vertically – Recommends using muslin cloth for testing |
– Requires blending and multiple adjustments |
| Dealing with challenges for other women | – Recommends using muslin cloth for testing – Suggests storing well-fitting patterns for future use – Mentions considerations for pants and sleeves |
– Requires multiple measurements and adjustments |
| Additional tips for grading pants and sleeves | – Provides specific instructions for grading pant tops and sleeves – Highlights the importance of proper fitting |
– No specific cons mentioned |
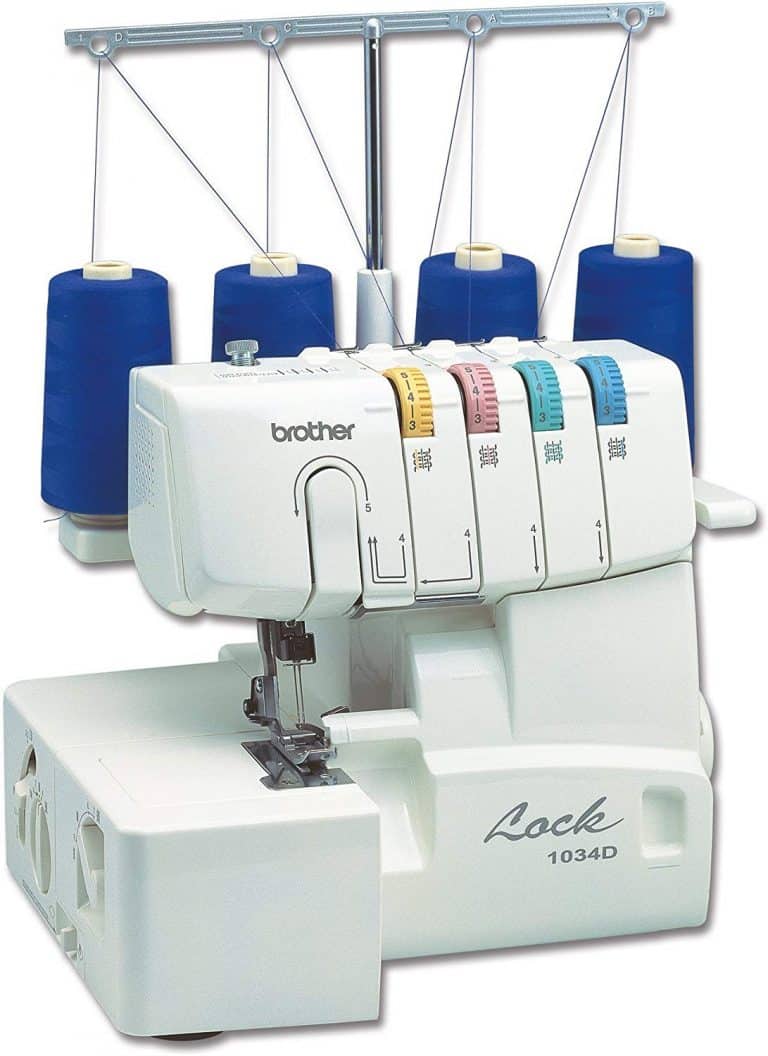
| Recommendation for purchasing sewing patterns | – Recommends Fabric.com as a source for sewing patterns | – No specific cons mentioned |
| Reference to Chapter 4 for more information on sewing | – Offers further learning resources | – No specific cons mentioned |
Table of Contents
How Much to Add?
Before trying to figure out how to enlarge a pattern and letting your sewing machine do its thing, you will need to find by what size should you be increasing the pattern. This is simply because it isn’t something set in stone as we all tend to grow at different rates, and the difference is much more pronounced between adults and kids than two adults.
So the first thing to do here would be to take measurements, and compare it to the measurements of the pattern you will be resizing. So for instance, if your bust turns out to be 34”, and your pattern’s bust is 30”, you will need to increase it by 4”.
However, you shouldn’t be going spreading out your bodice by 4”. This is because a bodice typically only covers 1/4th part of your body, which means that you will be dividing the difference by 4. So, in this case, we will be spreading out the bodice by 1” (4”/4).
But wait, this gets a little tricky here. Although we have come to the conclusion that we need to spread out the bodice by 1” based on what we did above, there’s a bit more to it than that.
Typically, the difference between most sizes is either just 1” or 2”. This means that you shouldn’t increasing the pattern by anything more than 2” at once. You can redraw, re-slash and spread it again after increasing it by 2”.
So in this case, we should only be increasing the overall size by 2”, meaning that the bodice should increase by 1/2″ (2”/4). Once we are done with that, we can go on to increase 2” again from the new pattern to make it exactly the size we need.
Spreading It Out
So how do you spread out the 1/2”? Well, you need to divide it into 3 as there are three vertical cuts. However, as dividing it into 3 can get a bit messy, we will simply divide it by 4.
This gets us 1/8” (1/2”/4). You should now be adding this 1/8” to two of the three vertical cuts that are closest to the center (the front or the back center). As for the rest, you will need to add it to the vertical slash that’s closest to the side seam.
This will help you in learning how to make a pattern bigger the right way, as you will understand that adding 1/8” to two vertical slashes and 1/4″ (the rest) to the one closest to the side seam would help you convert it into a completely new size pattern.
It would also help you understand why you can’t just go about increasing the pattern as a whole to 110% of its size, as not all the parts need to increase at the same rate.
Understanding how much to add to the length of the pattern is going to be a crucial part of learning how to grade a pattern. For children, it would depend on their measurements, which would primarily involve the difference between your child’s torso and the pattern size.
When it comes to adults, though, things are not going to be as complex, since we don’t tend to get taller but only wider. That said, the increase in size for most adults is typically 3/8” per size. It’s something that works well for most people, and would fit pretty nicely, including at the waist.
Checking the Accuracy of Your Work
As for checking the accuracy of your work, a good way to do it checking the corners of the bodices. If you can draw a straight line across them, then you have probably got it right.
However, it’s important to note that this method would only work when you have resized something that’s within a particular set of sewing patterns. In other words, the pattern sets for adults, children, and toddlers tend to be completely different, and can’t be resized. You will simply need to go for a different shape in such a case.
Similarly, if you’re a petite woman wondering how to size up a pattern, know that you may need a different shape than what’s meant to be used for other women, and simply grading the pattern may not cut it for you.
You may be able to do it in some cases, though, but keep in mind that it will require a lot of blending around the edges. Furthermore, the new pattern, too, would end up being different than the original pattern.
Similarly, the “drawing a line” method won’t work for checking the fit. The only option you will have here is making a muslin cloth. This isn’t going to be much of a challenge for petite women, as all they will need to do is decrease the pattern’s size (vertically) by more than 3/8” per size, although they will still need to stick to doing it 1-2” at a time.
Dealing with the Challenge Part – For Other Women
For other women, things will get a bit trickier as it may take many different measurements for them to do the same thing. However, you can keep using cheap muslin cloth for this purpose, and once you manage to find the ideal size, simply store that piece of cloth as it would be worth its weight in gold for you, and would turn out to be incredibly useful every time you have to deal with pattern modifications.
Finally, if you’re trying to grade pants or sleeves, then there are a couple additional things you may want to keep in mind, which are being mentioned below.
- The top part of your pant will have to be spread more than the bottom part of the pant, given that our hips demand a much more significant increase in the pattern size than our ankles.
- When working on the sleeves, you will need to increase the cap of the sleeves. However, it will have to increase by just as much as the bodice, in order to be able to fit it properly.
In case you’re unable to resize your pattern, or simple want some new ones, we recommend getting your sewing patterns at Fabric.com.
Want to learn more about sewing? Head on over to Chapter 4: Getting Started with Sewing.