How to Pin Weave

You could head to the fabric store and maybe you’ll find a material that you could use, but you want something really different; something that’s textured, yet soft, and easy to work with; something that’s truly one-of-a-kind. Maybe you should try pin weaving! Pin weaving yields some pretty incredible fabrics, but if you’ve never done it before, you might be a little hesitant. Not to worry! In this sewing help guide, we’ll show you how you can pin weave your own incredible fabric.
Create a Loom
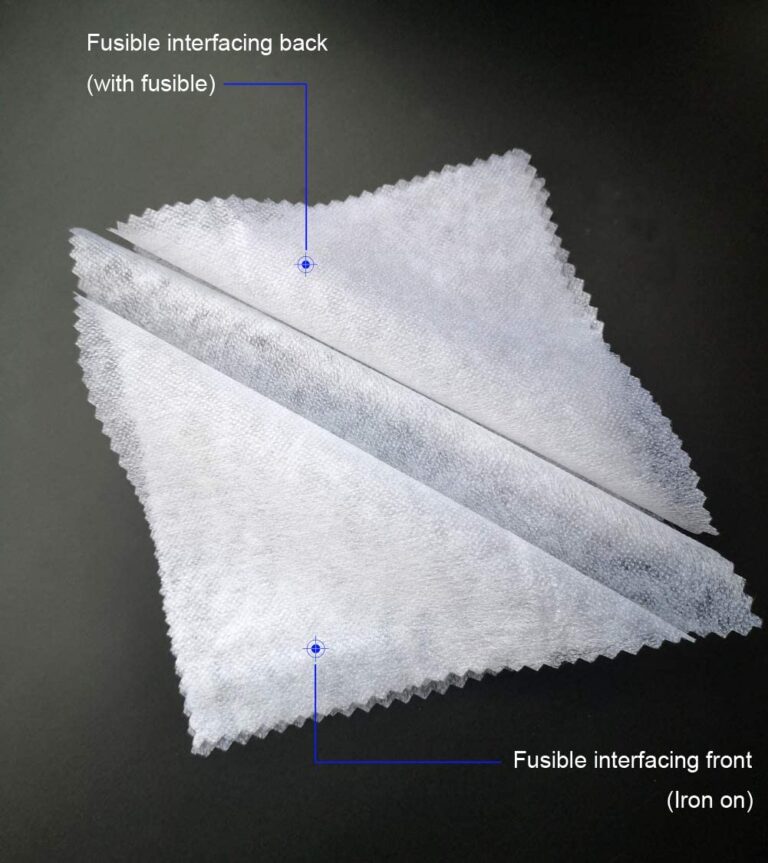
First, you need to make a loom. To do that, you’ll need glass-head straight pins, cardboard, and fusible interfacing.
- Cut the cardboard into two rectangles the size that you want your fabric to be.
- From a piece of sturdy material, like burlap, cut a rectangle that’s double the size of the cardboard you cut out.
- Fold the fabric in half so that the right sides are facing each other and the shorter edges line up.
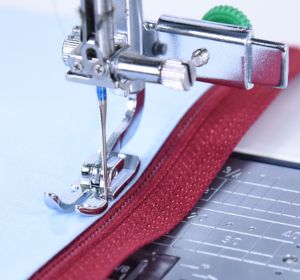
- Stitch a seam along the raw edges, leaving one end open.
- Turn the fabric right side out and fit the cardboard pieces into the opening. Sew the open end of the fabric closed.
- Position the interfacing onto the board with the fusible side up.
- Set the pins (they should lay flat) 1/3 inches apart along the longer edges of the board.
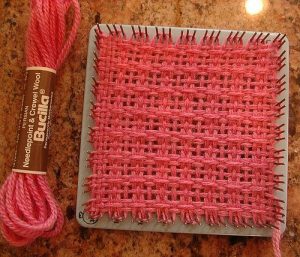
- Select a piece of thread. Tie a pearl knot with one piece of thread to the first pin, then lace the thread back and forth between the pins. Once you reach the last pin, tie another pearl knot in the thread.
Now you’re ready to start weaving!
Weaving the Design
You’ll need:
- 20 to 30 pieces of 1 to 2 yard long pieces of yarn
- #16 tapestry needle
- An assortment of ribbons and lengths of fabric
To weave your fabric…
- Thread a piece of yarn through the needle and use an over-under approach to weave it across loom. Weave the yarn in a curved shape.
- Continue the process, selecting different pieces of yarn and ribbons with each weave.
- Try changing up the direction of the curves to give the design more interest.
When you’re finished, you’ll need to press the fabric. Cover the fabric with a press cloth an use a steam setting to bond the interfacing to the yarn and fabric in the material you created. Take out all of the pins and your fabric is ready to be used!