How to Easily Sew a Kick Pleat

Supplies
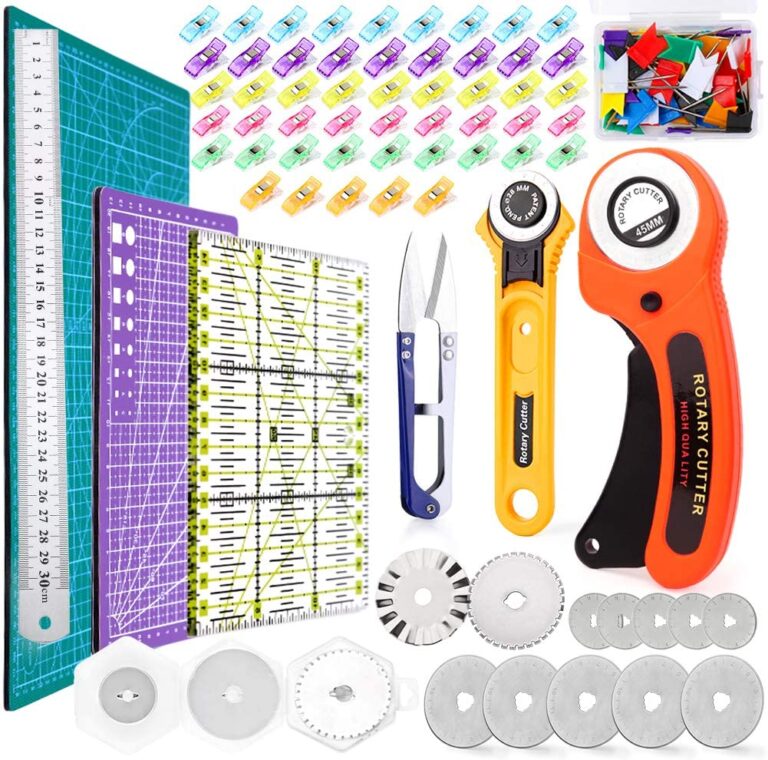
In order to sew a kick pleat, you’ll need the following tools:
- A sharpened pencil
- A clear ruler
- A fabric tape measure
- Pattern paper
Step 1
First, you’ll need to use your fabric tape measure to take the following measurements:
- Seam allowances
- Hem hold
- Finished hem line
It’s important to note that each of these measurements will be unique to your needs; however, for the purposes of this guide, our measurements are as follows:
- 5/8 inch seam allowance
- 5/8 inch hem hold
- 1 inch hem
Step 2
Draft out the pattern for your kick pleat on a piece of pattern paper. You need to figure out where high you want your kick pleat to be placed on your skirt. It’s important to note that the higher the pleat is, the more room you’ll have to walk and the shorter it is, the less space you’ll have. While the height will vary from person to person, we suggest having the kick pleat finish above the knee, as this will give you plenty of room to move. Measure from the finished hem line up the skirt to where you want the kick pleat to be located and make a notch.
Step 3
Draft the kick pleat extension. Position your ruler so that it is placed along the center back seam line. Draw a parallel line to the center back. While kick plate widths do vary, typically, they measure between 1/5 and 2 inches.
Step 4
Using a clear ruler, draft a 45 degree angle from the end of your pattern to the kick pleat extension
Step 5
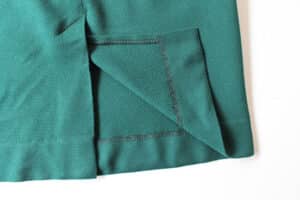
Start sewing! Fold the hem, finish up the extension edges, lap the kick pleat extension, and then from the top, join them together. While it’s optional, we recommend applying some fusible hem interfacing to reinforce the hemline, as well as one of the kick pleat extensions.
By following these simple tips, you can create your own professional quality (and comfortable) form-fitting skirts; complete with a kick pleat.