How to Easily Flutter Sleeves

 You’ve found a beautiful sewing pattern for a shirt or you are using a dress form to make a one-of-a-kind gown. You have the most perfect sewing fabric, too, and you can’t wait to head to your sewing room and start up your sewing machine. But as you pull out all of your sewing essentials and are about to get started, you realize that you want to add a little something more to the garment; not a flashy embellishment, like rhinestones and sequins, or fabric ribbons. No, you want something a little more understated and elegant… Flutter sleeves could do the trick!
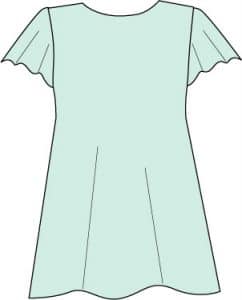
Flutter sleeves are short sleeves that have a loose fit and soft folds that hang gently over the upper arm; they literally look like they are fluttering – hence the name! They add the perfect touch of interest and elegance to any shirt or dress, they’re comfortable, and they are flattering on anyone. They also give you more flexibility, so you can move your arms more freely. Flutter sleeves really are as awesome as they sound.
But how do you go about sewing a flutter sleeve? In this sewing help guide, we’ll teach you the basics of add a flutter sleeve to a garment.
Getting Ready
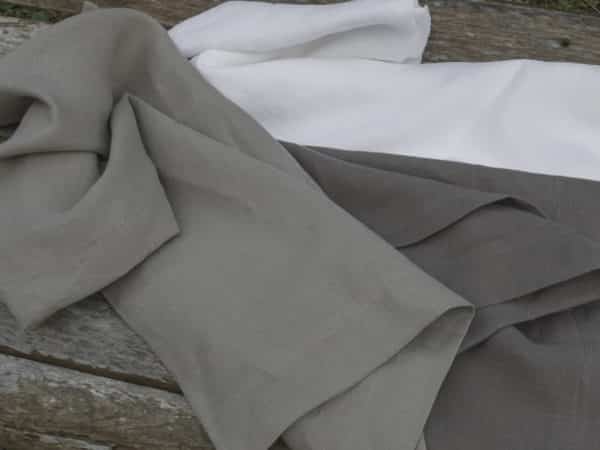
Make sure that the garment has short sleeves; if the pattern you are planning on using doesn’t, make adjustments to shorten the sleeves. You’ll also want to choose the right type of fabric; flutter sleeves work best with lightweight fabrics that flow, such as organza and chiffon or rayon. You also want to make sure that you have needles, thread, scissors, chalk, and rulers easily accessible.
Step 1
To get started, cut the sleeve portion of the pattern or the material that you are working with to your specific dimensions. Use a ruler to measure the piece so that you can locate the center.
Step 2
Draw one line in the center of the arm and another line at the halfway point between the seam that runs along the underarm and the center line on the back of the sleeve.
Step 3
Locate the middle point between the first two lines that you’ve drawn. Create a third line at this point, using the same technique you used to draw the previous lines.
Step 4
Repeat steps 2 and 3 on the front of the sleeve.
Step 5
Cut along each slash line, but use care not to cut completely through, but rather to, the edge of the sleeve cap. Spread out the sections to a width you would like (between 1 and 1.5 inches is ideal).
Step 6
Position a piece of pattern paper under the sleeve pattern and tape along the edges and between the slashes.
Step 7
With a curved ruler, complete the pattern and create a new grainline along the center of the sleeve. Cut the pattern piece.
Step 8
Transfer the pattern to the sleeve. Trace the pattern onto the material and sew a basting stitch ¼ inch from the lower edge.
Step 9
Using the basting stitch as a guide, fold the lower edge of the material to the wrong side.
Step 10
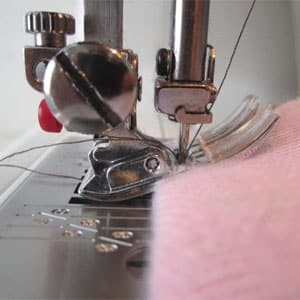
Using a hemstitch, sew the fold 1/8 inch from the edge. Trim as close as you can to the stitching line to prevent any bulk.
Step 11
Roll the edge of the fabric on the wrong side and use an iron to press it in place.
Once you’ve completed all of these steps, finish off the hem, and you’ll have beautiful flutter sleeves for your garment!