How to Design and Sew a Kilt

| Pros | Simple construction, easy to follow steps, great for beginners, allows for alterations, upholds traditional pattern |
| Cons | Not suitable for creating a full-fledged pristine kilt, limited options for adding fancy additions |
Table of Contents
- 1 The Supplies You’ll Need
- 2 Step-By-Step Guide
- 2.1 Step 1 – Choosing the Fabric to Design and Sew a Kilt
- 2.2 Step 2 – Measurements
- 2.3 Step 3 – Preparing the Fabric
- 2.4 Step 4 – Preparing for the Outside Apron
- 2.5 Step 5 – Pleating
- 2.6 Step 6 – Adjustments for Hip to Waist
- 2.7 Step 7 – Temporarily Fixing the Pleats
- 2.8 Step 8 – Final Pleat Stitching for You Kilt
- 2.9 Step 9 – Trimming
- 2.10 Step 10 – Fringe Addition to Your Design
- 2.11 Step 11 – Adding a Waistband
- 2.12 Step 12 – Adding Lining
- 2.13 Step 13 – Adding Accessories
- 2.14 Step 14 – Finishing the Kilt
- 2.15 Pros
- 2.16 Cons
- 3 Frequently Asked Questions
- 4 Summing Up
The Supplies You’ll Need
Designing and sewing a kilt is a complicated process. A kilt needs to be appropriately measured from the waist, hips, and legs while considering the fabric you’re going to use. You need to choose the suitable material for your kilt and make the measurements appropriately. Otherwise, you will end up with a wrong-shaped kilt.
Sewing Machine
Needless to say, you will need a well-functioning sewing machine to design and sew a kilt. Without a machine, you will never be able to get the job done within a month. Moreover, your kilt will not be well-finished. Invest in any medium- to a high-range sewing machine that can handle medium to heavy tartan and cargo fabric.
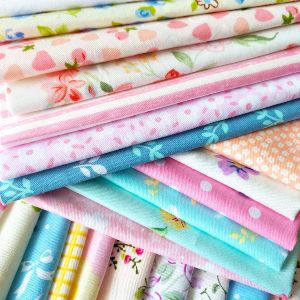
Fabric
You will have to choose the right fabric for your kilt. If you have a clan or district tartan, your job is easy since you just need to buy your traditional tartan. However, if you are looking for a fancy or non-traditional kilt or do not have a family tartan, you will have to make some considerations.
Matching Thread
Once you’re chosen a fabric, search for a spool of thread that is the closest match to the cloth’s color and texture.
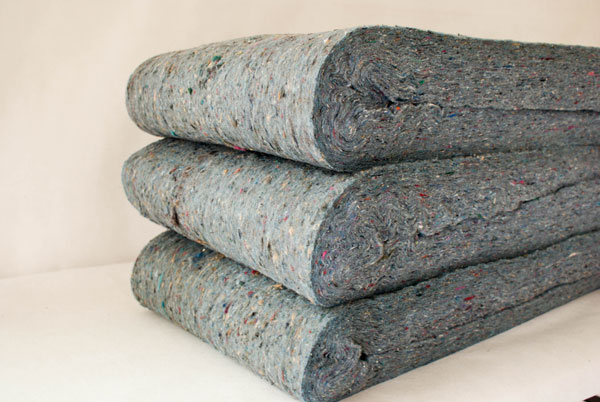
Interfacing
The amount of interfacing you will need depends on your measurements. You should get enough to line the waistband at ease.
Iron
Making pleats is an essential element of designing and sewing a kilt. Pleats are made primarily with the help of an iron.
Scissors
Much like any sewing job, you will require to cut fabric and threads throughout your kilt-making process. You will need a sharp pair of scissors for comfortable designing and sewing.
Measurement Tape
When we mention a measurement tape, we do not mean the metal and rigid carpenter’s measurement tape. No. You will need the cloth measurement tape used by tailors.
Fabric Chalk
You will have to mark things here and there while designing the kilt. A fabric pencil or chalk will also allow you to draw the line in which you want to cut the fabric so that you have ample guides. We suggest you buy white chalk that can dust or wash off quickly to avoid ruining your fabric with unwanted colored lines.
Pins and Snap Fasteners
Other than just pins and 22 snap fasteners, you will require all the other small sewing necessary tools and equipment to design and sew your kilt easily.
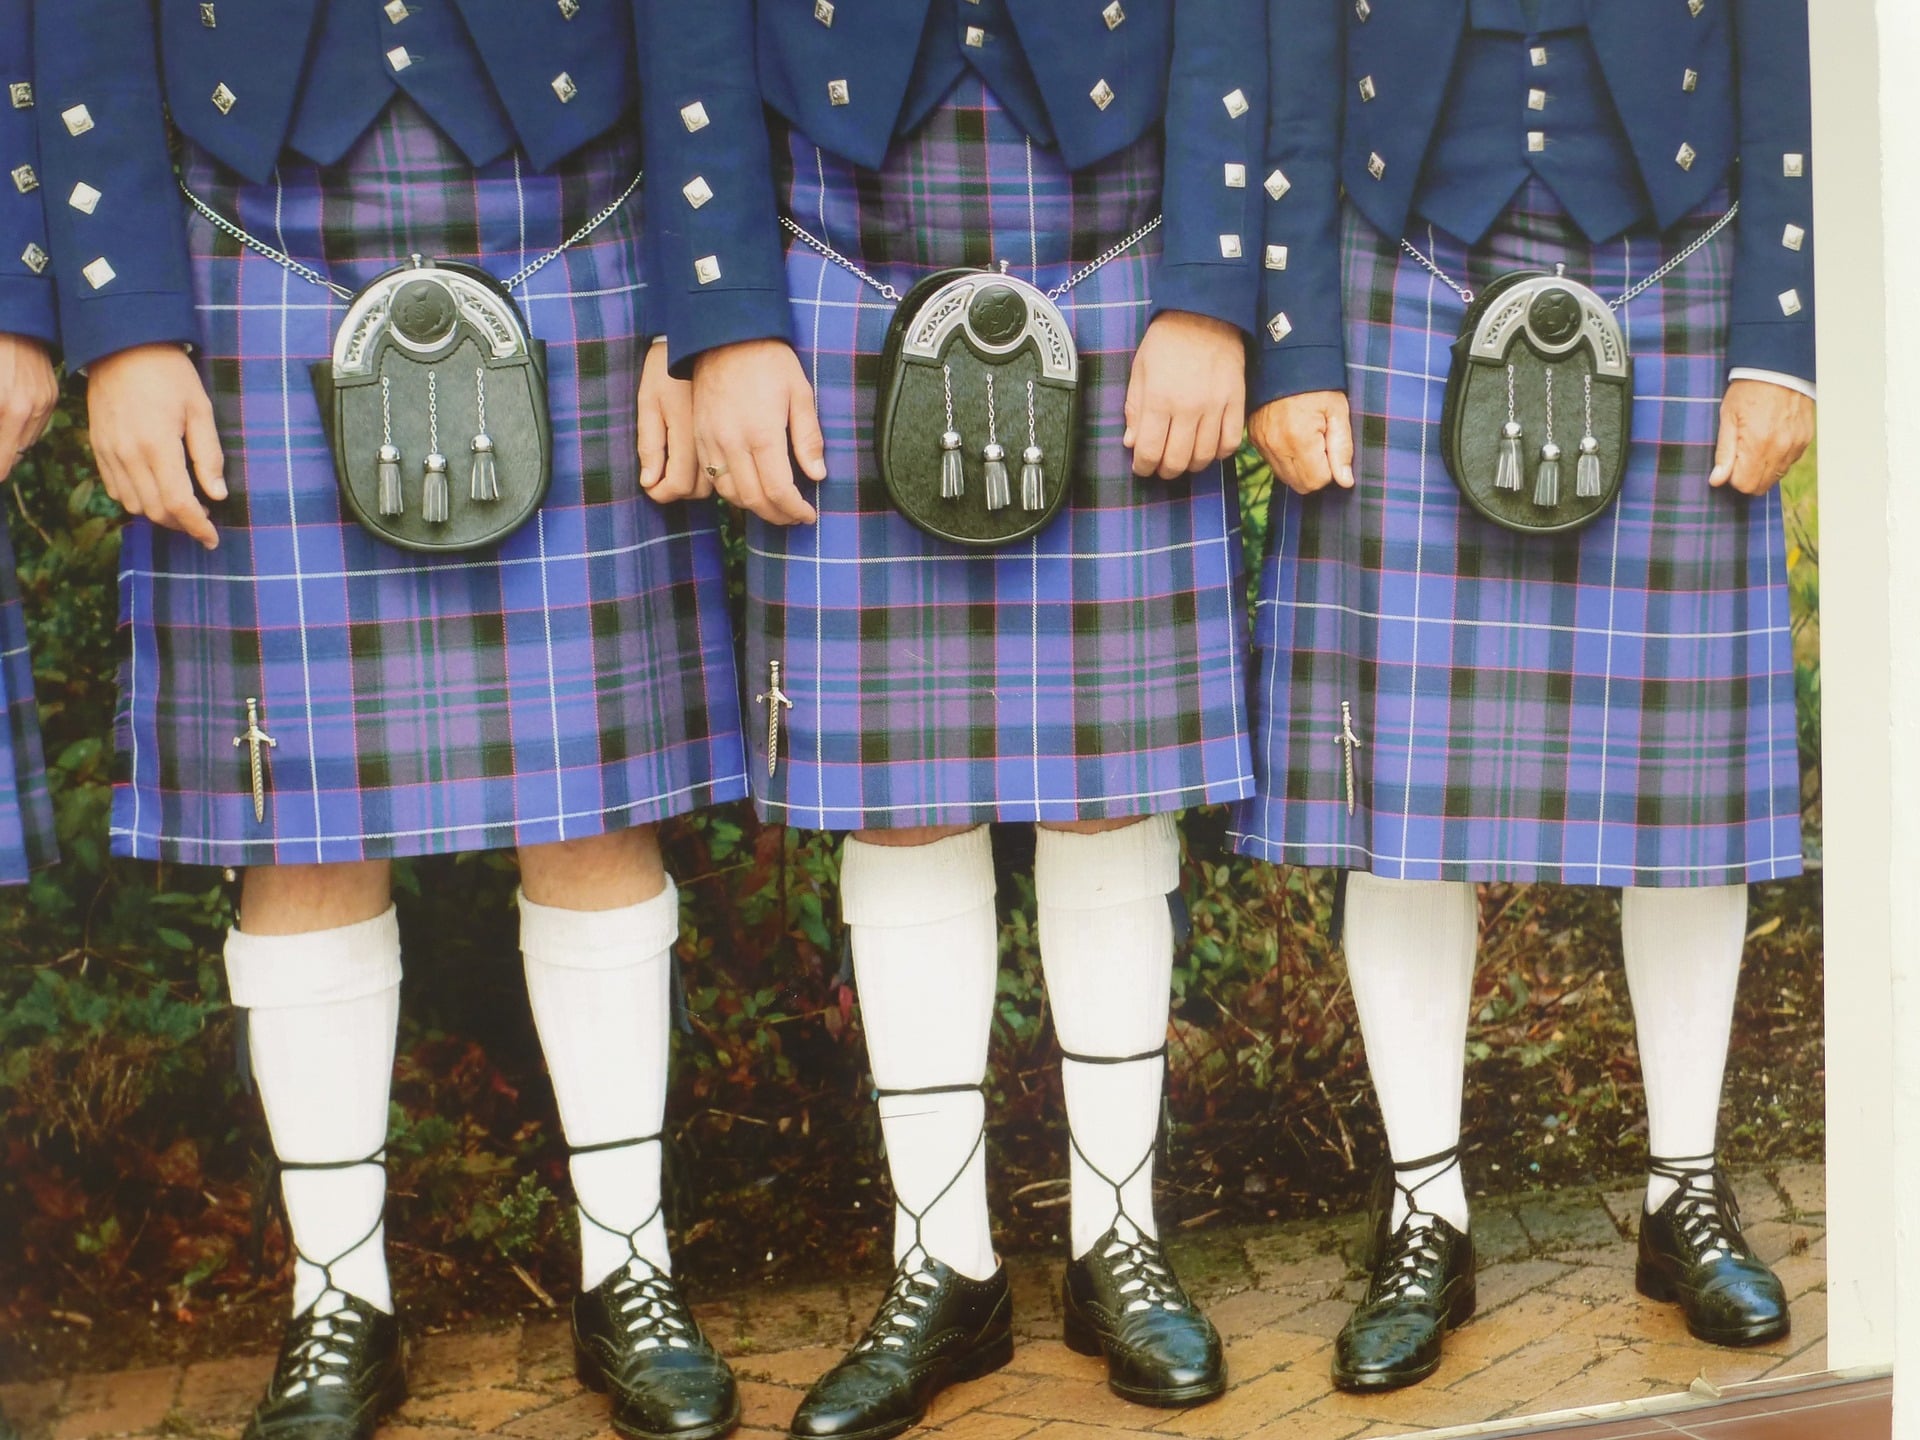
Step-By-Step Guide
Learning how to design and sew a kilt is an essential part of the Celtic heritage for Irish and Scottish men. Kilts are supposed to be handmade and custom-made for each individual. Their fitting is vital to determine the entire garment’s quality. This step-by-step guide on how to design and sew a Celtic kilt is meant for beginners.
Step 1 – Choosing the Fabric to Design and Sew a Kilt
Sewing a kilt requires taking some measurements and working carefully with the fabric you have. The material you use makes a huge difference in the type of kilt that you’ll end up with.
If you’re looking forward to making a traditional kilt, the only fabric option you have is your family’s tartan. However, if you do not have a dedicated tartan, you can choose to use either any of the four universal tartans or other materials such as cargo and denim. However, these materials will account for a highly informal kilt.
Step 2 – Measurements
Not only do you need measurements to make the kilt presentable, but you also need them to know the size of fabric you will need. Since the kilt is like a skirt, the only three things that matter in terms of measurement are the waist, hip, and length.
While measuring the waist, it is important to not use pant sizes as kilts are meant to be work at much higher positions on the waist. The best place to measure the waist size for a kilt is to measure around the belly button.
Traditionally, kilts are meant to cover the knees. Therefore, measure from your belly button down to two-third of your knee.
Step 3 – Preparing the Fabric
Before beginning sewing, you must prepare the tartan to be perfect for kilt-making. While you can get tartan with selvage edge in the market, you will have to hem the material to prepare that edge.
The first thing to do is to hem the material from both the top and the bottom. To make the depth and pattern of hemming after sewing the top to the bottom, make sure both edges have similar hemming.
You will have to cut the material into two. The two pieces should be wide enough to reach the bottom of the hem from the waist. The long center strip left will be used as a waistband. Now, sew the two cut pieces together while matching the pattern on the fabric.
Run a zigzag stitch, serge, and use Fray Stop to finish the top edge of the material.
Step 4 – Preparing for the Outside Apron
The outside apron of the kilt closes and buckles on the right side of the kilt. To make the apron sit perfectly, you should fold under about six inches at the front and proceed to make a double-width and deep pleat towards the left. You must fasten this pleat with a safety pin according to the measurement of the hip.
Once the front apron is set, continue pleating single-width pleats and pinning them at the hip. Once the inside and outside apron begin to match, you can pin the front apron at the end.
Step 5 – Pleating
Pleating is the most complicated yet important part of sewing a kilt. Each pleat in your kilt should have about eight inches of hidden fabric and one inch of exposed fabric. This hidden fabric will layer onto each other to give some flair and volume to the kilt.
To divide the fabric for pleating properly, you can divide the entire fabric according to each sett’s width. If a section measures about eight inches, dividing it into eight or more sections is optimum. You can use a piece of cardboard during pleating as a measuring tool.
Make sure all your pleats look uniform. To do so, overlay the pleat’s edge and match it to the next section. Fold according to the exposed visible fabric ratio and keep pinning each pleat to the hip. Continue pleating until you have covered the entire backside of the kilt.
Step 6 – Adjustments for Hip to Waist
You can keep the initial and last pleats straight according to the darts pinched on each side of the apron. You can adjust the rest of the difference between the hip and waist according to the size difference in each pleat.
Step 7 – Temporarily Fixing the Pleats
You can do a simple running stitch or basting on the 1/4th and ½ mark from the fabric’s bottom. Make sure each pleat’s edge is well caught between the stitches to make the fabric stay in one place. Doing so will make dealing with the fabric easy and manageable since you will not have to keep holding it.
Step 8 – Final Pleat Stitching for You Kilt
Once the pleats are made and basted, use felling or blind stitch from the hip of the pleat to fasten everything together. Use a thread about ½ inch away from the pleat’s reverse edge and continue using two stitches to tighten and secure the bottom. Complete the bottom section with three threads and continue to the top to finish the pleat.
The stitching process has to be as clean as possible. Make sure that each inch has about ten stitches to secure the pleats properly.
Step 9 – Trimming
Once the pleats are fastened, you will notice some excess material hanging from the kilt’s back. Fold this material and decide on the fringe length you finally want. Trim all the excess material from the waistline. Make sure the strip is at least 1.5 inches deep.
Step 10 – Fringe Addition to Your Design
Take the fabric in the length of the kilt and cut at least three-inch-wide fabric. Fold this material into half for added thickness and stitch in a Z-shaped edge on the apron’s right side. Allow the fringe to fall in place by removing all the vertical threads from the stitching.
Step 11 – Adding a Waistband
To add a waistband, you will need to cut interfacing according to the size of the band you want. We recommend cutting 5-inch-wide interfacing and attaching it in the form of a waistband.
You can start the waistband addition by preparing the section. Turn under ½ inch of the beginning edge from the outside apron and stitch the top and bottom of the apron. Use felling stitch for this step.
Attach the interfacing to the waistband by stitching. If you don’t wish to use interfacing, overlap the width of the cloth over the top of the kilt. This is from a thick waistband without external material.
Step 12 – Adding Lining
Your waistband and the inside of the kilt will need to be lined with a duck material. The lining should be as deep as the pleats and should cover the entire length of the kilt from the inside.
You can leave the bottom part of both the aprons loose. However, make sure the edges are hemmed so that the hemming can act as self-lining.
Step 13 – Adding Accessories
This step is very customizable according to the accessories you want on your kilt. If you’re looking for buckles and leather straps, you can add them. Otherwise, you can also add a small pouch, called a sporen, in the front.
To add leather straps, you can punch a few holes on the strap itself before sewing them beside the inside fringe. Make sure the lining doesn’t get disturbed. Now, you must add buckles to keep the straps in place. Sew them over the pleats with at least two inches of distance between them and the fringed section.
Step 14 – Finishing the Kilt
The reason why it is important to sew the pleats in a well-measured way is to make pressing and finishing easy. Once everything in the kilt is attached in place, you must use a handheld iron or a steam iron to press the cloth. This step will make all the pleats sit in their right place and will make the kilt look presentable.
While pressing, make sure each section is perfectly in place, and no pleat is settled out of place. This is why pinning and sewing beforehand is such a crucial step – it keeps all the pleats in place for better pressing.
Pros
- Very simple construction.
- Easy to follow steps.
- Great for beginners to learn how to design and sew a kilt.
- Allows for alternations according to fit.
- Upholds the traditional pattern while being easy and stylish.
Cons
- Too simple a method to create a full-fledged pristine kilt.
- You cannot easily add fancy additions.
Frequently Asked Questions
In this article, you have learned how to design and sew a traditional kilt and a cargo kilt. We tried to get into as much detail as possible. However, it is only natural for you to have some more questions. To address that, we have answered some of the Internet’s most frequently asked questions regarding designing and sewing a kilt.
How much fabric is needed to design and sew a Good Kilt?
A traditional kilt requires at least 29 pleats. Therefore, the sheer amount of fabric you will need is huge. A Great Kilt or a Breacan-an-feileadh is made of medium weight tartan fabric, and is the measurement of the fabric is generally about seven to nine yards.
You can alternate the number of pleats and the length of the fabric according to your liking. Therefore, some kilt-makers even use six years of 5.50 meters of fabric, while others use over 10 yards. It is also important to note that the fabric length is also dependent on the wearer’s measurements.
Can I wear a tartan kilt even if I do not have a district or a clan tartan?
Traditionally, each clan or district in Scotland has a designated tartan assigned to them. It is with the tartan that the people can distinguish among one another. Therefore, most people who do not have a district or clan tartan should refrain from wearing a tartan kilt.
However, over the years, the rules have become a little liberal. Resultingly, people without specific tartans can wear any of the four universal tartans, which are The Jacobite, The Hunting Stewart, The Black Watch, and The Calendonia.
Can I wear a belt with a kilt?
If you look at the traditional highlander outfit, men should not wear belts and buckles with their kilt. A kilt should be handmade in such a manner that it stays up without any waist support. However, with changing trends, it is normal for men to wear buckles and belts with kilts for semi-formal occasions.
Adding an accessory to a kilt takes away the traditional significance of the garment and makes it a fashion statement piece. Therefore, regardless of how comfortable a belt might feel, we suggest you refrain from wearing one for formal gatherings.
Summing Up
Learning how to design and sew a kilt is a complicated process, and even the best tailors seem to struggle at it. However, with the right guidance and practice, you can do it. With the right supplies, methods, and enough practice, designing and sewing a kilt can become easier over time.
All you need is to have a clear idea in your mind of how you want your kilt to look. This design clarity should be present before you start working. With a picture on your head, you can follow our instructions from this article. Feel free to make alterations to the procedure according to your requirements.