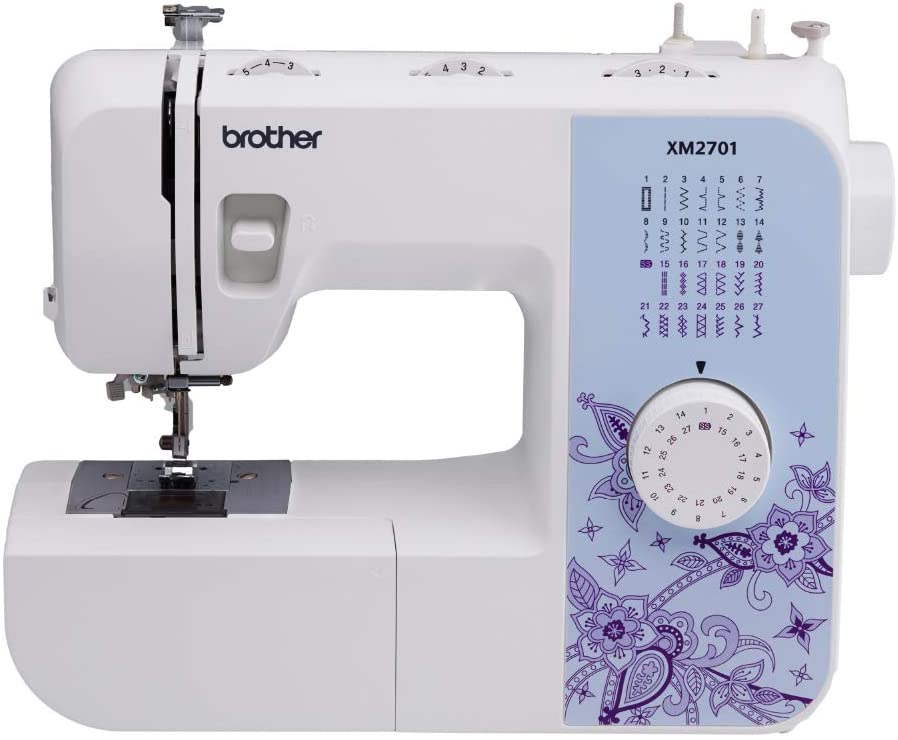
Brother Sewing Machine Manual- Instruction Video

If you’re new to using a Brother sewing machine, this Brother Sewing Machine Manual and video and will give you an overview of the machine’s operation. The video covers how to prepare the machine for use, set the bobbin winder, thread the machine, and sew basic stitches. It also includes instructions for buttonhole sewing, zipper insertion, and needle changing and maintenance.
Table of Contents
Key Takeaways
- This video provides an overview of how to use a Brother sewing machine.
- You’ll learn how to set up the machine, thread it, and sew basic stitches.
- The video also covers more advanced techniques like buttonhole sewing and zipper insertion.
Getting the Machine Ready for Use
Before you start using your Brother sewing machine, you need to get it ready for use. This section will guide you through the process of inserting the foot controller plug and power supply plug, setting the bobbin winder and lower thread, and setting the upper thread.
Inserting the Foot Controller Plug and Power Supply Plug
To get started, insert the foot controller plug into the jack on the right side of the machine. Next, connect the power supply plug into a wall outlet. Finally, turn the main power switch on. When the machine is turned on, the sewing lamp comes on.
Setting the Bobbin Winder and Lower Thread Brother Sewing Machine Manual
Now let’s take a look at how to set the bobbin winder and the lower thread. Only use the bobbin that has been designed for this sewing machine. Using bobbins from older models may cause injury or damage to the machine.
To set the bobbin winder and lower thread, pull out the spool pin fully and insert the spool of thread for the bobbins onto the spool pin. Hook the thread on the thread guide groove and pull the thread from the front to the back around the pre-tensioned discs completely. Pass the end of the thread through the hole on the bobbin from the inside of the bobbin and pull through.
Put the bobbin onto the bobbin winder shaft and slide the shaft to the right. Turn the bobbin until it clicks. Turn the main power switch on while gently holding the thread from the bobbin. Press the foot controller down lightly to wind the thread around the bobbin a few times, and then stop the machine. Trim the excess thread above the bobbin with a pair of scissors. Make sure you cut the excess thread completely before winding the bobbin. Wind the thread again by pressing the foot controller down fully. When the bobbin is full, the bobbin starts to turn slowly. Take your foot off the foot controller to stop the machine. Cut the thread with a pair of scissors. Slide the bobbin winder shaft to the left and remove the bobbin.
First, turn the main power switch off before setting the lower thread. Raise the needle by turning the hand wheel toward you and raise the presser foot lever. The position is correct when the mark on the hand wheel points directly up. Remove the bobbin cover by sliding it toward you and put the bobbin in so that the thread comes out from the left side. Hold the end of the thread with your left hand, push the bobbin down lightly with your right hand, and then pass the thread through the slit. Make sure that the thread is correctly inserted through the tension adjusting spring of the bobbin case. Replace the bobbin cover. Now you have completed the setting of the lower thread.
Setting the Upper Thread Brother Sewing Machine Manual
To set the upper thread, ensure that the main power switch is off and the presser foot lever is raised. Brace the needle by turning the hand wheel toward you. Pull up the spool pin fully and insert the spool of thread for the upper thread so that the end of the thread comes out toward you.
Hold the thread from the spool using both hands. Pass the thread to the thread guide groove from the back to the front so that the thread comes out toward you. Hold the thread with your right hand and use your left hand to feed it along the groove guide following the numbers. Make sure you feed the thread through the thread take-up lever from right to left. Hold the thread in your left hand and feed it through the needle holder thread guide with your right hand. Lower the presser foot and thread the needle while gently holding the end of the thread.
Raise the presser foot and slowly turn the hand wheel toward you once to raise the needle. Pull up the upper thread, and the lower thread will come out. Pull out the thread with your fingers. Put the upper thread and the lower thread under the presser foot and pull out about five centimeters (two inches) of thread toward the back of the sewing machine.
Now that you have set up the machine, you are ready to start sewing. Turn the main power switch on, set the pattern selection dial to straight stitch sewing, raise the needle, and lift the presser foot to set the fabric. Pass the thread under the presser foot while holding the thread and the fabric with your left hand. Turn the hand wheel toward you to lower the needle into the fabric and lower the presser foot lever. When you sew the fabric, adjust the speed with the foot controller. To finish sewing, release your foot from the foot controller to stop the machine, and then raise the needle by turning the hand wheel toward you. Raise the presser foot, pull out the fabric, and then cut the threads with the thread cutter that is found on the left side of the machine.
Sewing Basics Brother Sewing Machine Manual
Starting and Stopping Sewing
To start sewing, turn on the main power switch and set the pattern selection dial to the desired stitch. Raise the needle and lift the presser foot to set the fabric. Pass the thread under the presser foot while holding the thread and the fabric with your left hand. Turn the hand wheel toward you to lower the needle into the fabric and lower the presser foot lever. Adjust the speed with the foot controller, and release your foot from the foot controller to stop the machine. Raise the needle by turning the handwheel toward you, raise the presser foot, and then cut the threads with the thread cutter on the left side of the machine.
Reverse Sewing
To sew in reverse, lower the needle into the starting point of stitching and lower the presser foot. Start the machine slowly and when you have sewn a few stitches, stop the machine. Press the reverse sewing lever and hold it to sew reverse stitches until you return to the starting point. When you have returned to the starting point, take your finger off the reverse sewing lever and sew forward again. You can also sew in reverse for reinforcement at the end of sewing by stopping the machine and pressing the reverse sewing lever.
Adjusting Thread Tension
The tension of the thread depends on the type of fabric or thread. Try sewing with a piece of the fabric you are going to use and adjust the tension of the thread accordingly. To adjust the tension, use the tension adjusting dial on the machine. Turn the dial to the right to increase the tension and to the left to decrease the tension.
Satin Stitch
To sew a satin stitch, turn the pattern selection dial to the satin stitch. Raise the presser foot, set the fabric, and start sewing. To adjust the stitch length, turn the pattern selection dial to one of the three stitch lengths.
Buttonhole Sewing Brother Sewing Machine Manual
To sew a buttonhole, you will need to change the foot to the buttonhole foot A. First, use tailor’s chalk to mark the position and length of the buttonhole on the fabric. Then, turn off the main power switch and raise the needle by turning the hand wheel towards you.
Next, raise the presser foot lever and pull down the presser foot to remove it. To attach the buttonhole foot, place it at the position where the ditch of the presser holder can catch the metal pin of the buttonhole foot. Push the frame back until it stops and turn the main power switch on.
Set the pattern selection dial to AC and pass the upper thread into the hole of the presser foot. Align the red mark on the presser foot with the front side of the marking on the fabric and lower the presser foot lever. While lightly holding the upper thread with your left hand, turn the hand wheel towards you to lower the needle into the fabric.
Press the foot controller down lightly and sew five or six stitches. Stop the machine and raise the needle by turning the hand wheel towards you. Set the pattern selection dial to B and sew up to the marking. Stop the machine at the mark and raise the needle.
Set the pattern selection dial to AC and sew five or six stitches. Stop the machine and raise the needle. Set the pattern selection dial to D and start the machine again to sew up to the marking. Stop the machine and raise the needle. Cut the thread slightly longer, pull through the upper thread to the reverse side, and tie a knot to prevent fraying.
Remember to turn off the main power switch before changing the needle and to clean the machine regularly to keep it in good condition. With these simple steps, you can easily sew a buttonhole with your Brother sewing machine.
Zipper Insertion Brother Sewing Machine Manual
Inserting a zipper can be a daunting task, but with the Brother Sewing Machine, it’s a breeze. First, you’ll need to attach the zipper foot eye to your machine and select the straight stitch with the center needle position on the pattern selection dial.
Next, place the zipper on the right side of the fabric and pin it in place. Set the presser foot on the left side of the zipper and align the needle with the edge of the fabric. Lower the presser foot and start sewing.
When you reach the end of the zipper, stop sewing and backstitch a few stitches to secure the thread. Then, switch the fabric and zipper positions and repeat the process on the other side of the zipper.
Once both sides are sewn, remove the pins and open the zipper to check if it’s sewn properly. If everything looks good, trim any excess thread and you’re done!
Remember to always turn off the main power switch before changing the needle or cleaning the machine. Happy sewing!
Needle Changing and Maintenance
Changing the needle on your Brother sewing machine is an important part of machine maintenance. It is recommended that you change your needle after every project or after every 8 hours of use. To begin, make sure that the machine is turned off and the needle is raised to its highest position by turning the hand wheel towards you. Then, remove the presser foot and lower the presser foot lever.
With your left hand, hold the needle and loosen the needle clamp screw with the accessory screwdriver in your right hand. Remove the needle with the flat side of the new needle towards the rear of the machine. Insert the new needle until it touches the needle stopper, and then secure the needle clamp screw with a screwdriver.
It is also important to perform regular maintenance on your sewing machine to keep it running smoothly. To clean the machine, first turn off the main power switch and remove the presser foot, needle, and presser foot holder. Then, remove the clamp screws and the needle plate. Use cleaning brushes or vacuum cleaners to remove any dust from the race and its surrounding area.
Finally, return the bobbin case to its original position, making sure that the projection of the bobbin case and the tension adjusting spring of the race are aligned. By regularly changing the needle and cleaning your machine, you can ensure that it continues to operate at its best and lasts for years to come.
Source
Wath the video here