The Step-by-Step Guide to Adding Elastic

To your surprise, however, adding elastic is far from difficult or challenging. In fact, it usually only involves a hem and a straight stitch. Easy to do on your sewing machine!
Creating a Casing
Once you learn how to add elastic, you will have no problem making things that require an elastic, such as pajama pants. Before adding elastic, though, you will need to create a casing for it. To do so, you need to first fold your fabric in a way very similar to how you do when you’re trying to hem it. But the only difference is going to be that the wrong sides are going to be in contact with each other.
Fold it about an inch or so. And then fold it again by repeating the above steps. Then seam the folded part or pin it, or do both.
You will then sew a straight line, by keeping the folded part perfectly aligned with the edge of the pressure foot. Once that’s done, it will be ready for adding the elastic.
Inserting the Elastic
As for the size of the elastic, anything that’s smaller than the size of the casing should be fine. However, if you’re working on some kids stuff, an elastic of about ½ inch width would be ideal.
Once you’re sure about the size of the elastic, you can insert a safety pin on one of its ends. Then put the side of the elastic with the safety pin into one of the ends of the casing. Pull it through using the safety pin by pushing it on, but don’t let the other end of the elastic get pulled through into the casing. You can hold the other side or keep it pinned to something, but just don’t let it get into the end of the casing.
Keep pulling through the end of the elastic with the safety pin until the it’s out the other side of the casing. At this point you will find your fabric gathered.
Adding Elastic to Something Like Pajama Pants
This is the basic process of adding an elastic to a piece of clothing. However, you would usually not be adding an elastic to a flat piece of clothing like the one I used as an example here. You would likely be doing this on something like a waist band, which would already be in a loop.
Let’s take a more practical example – pajama pants. When you’re creating a waist band for something like pajama pants, you need to follow the same steps I explained above, but just at the top of the pants.
Pin the top of the pajamas in place, then sew all the way around it, but don’t forget to leave a couple of inches to have an opening. You will be inserting the elastic through this opening. The size of the elastic should depend on the size of the waist, or the instructions, if they are accurate enough. Then you can insert the elastic following the same way as we did above.
It’s going to be just a tad bit more difficult, as you will have to pull the elastic all the way through the waist band, and then also make sure that the other end is still out when you pull out the end that you let into the waist band. Similarly, preventing the elastic from getting twisted when its end is still not out can be a little tricky as well.
The final stage of this process would involve sewing the two ends of the elastic together.
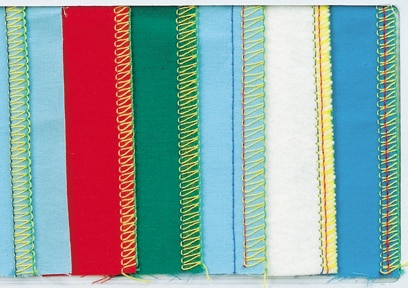
Using a zigzag stitch would probably be a “clean” way to do it, but you can also just go over it like 10 times if that sounds better to you. It’s easy if you have a sewing machine for zigzag stitching.
Then it would be time to close the opening, which you can do so by simply stretching out the elastic and sewing shut the opening. However, while doing so, you will need to be a little careful to not sew over the elastic, but just the fabric.
And that’s all folks – you’re done adding an elastic to pajama pants or whatever it was that you were working on!
Head back to CHAPTER 4: Sewing 101 for Aspiring Home Sewists!